Recently I was asked to make a “Ring Bearers Box”, not knowing exactly what this is, I had to ask for some examples, but evidently the practice of using a small pillow for the ring bearer to transport the rings down the isle is giving way to a small box, that contains the rings. When you think of it this makes since, because the youngsters that are usually ring bearers are not always completely focused on the task at hand often the rings went rolling away! Many couples anticipating adolescent antics would tie or fasten down the rings, leaving them a little more difficult to retrieve when the officiant calls for them.
All this angst, lead to the development of the “Ring Bearers box” A small simple box, with something in side to fix the rings in place, and make it easy for the little tyke to make it down the isle rings intact.
In this article and linked build video, I show you my interpretation of the box project, and how I accomplished the projects, and while I didn’t attend the wedding it was a success…. the couple did indeed receive their rings carried in a small box by a small person and the end of the isle as evidenced by some pictures on FaceBook.
Back to the task at hand, details of how I created this what I hope becomes a family heirloom! 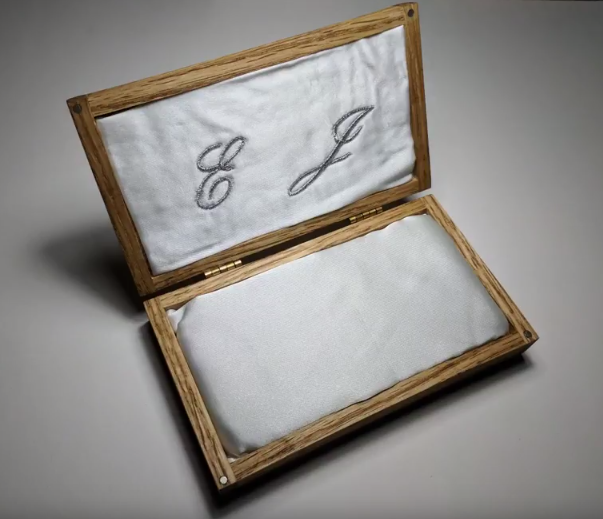
The materials I used were some rough sawn ash I have that was milled locally, from a tree that I believe was a casualty of the Emerald ash borer. Some small brass hardware, a few powerful magnets, and some fabric.
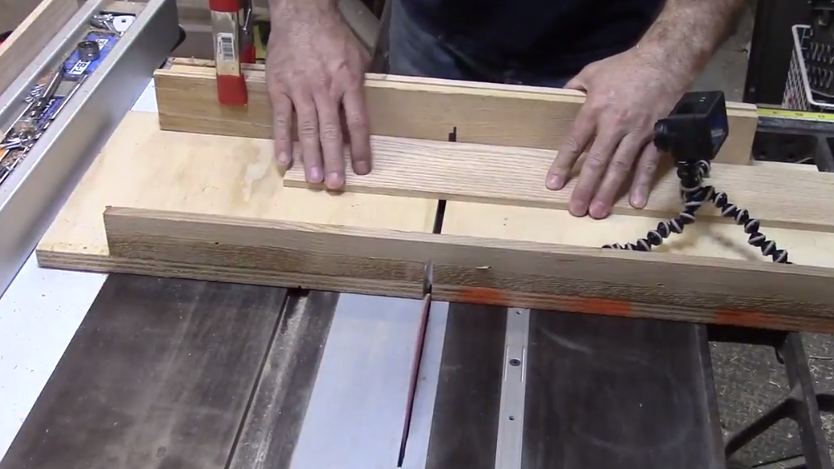
I started by selecting a portion of the rough sawn lumber that I could get the entire project from, at the table saw with the “Jointing jig” to ensure one edge of the board was exactly straight. Then flipped the board around and ran that flat side against the fence to make both sides parallel. 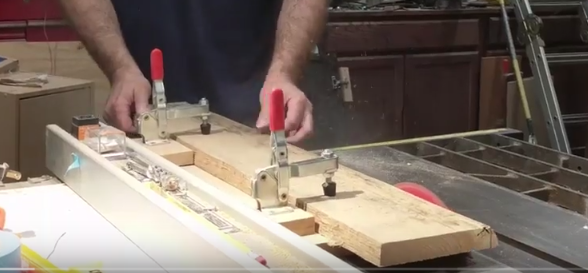

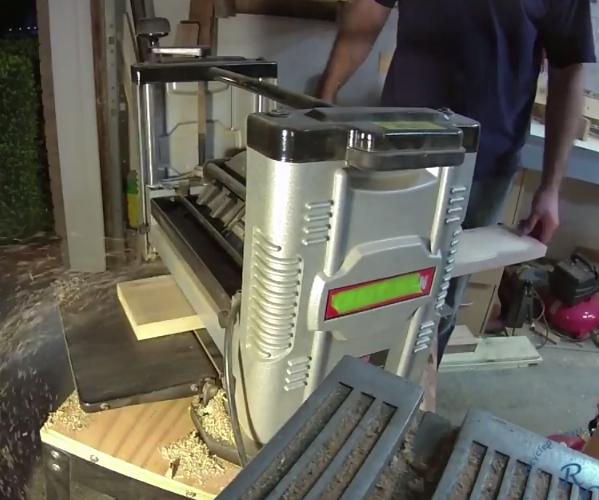
The board was already pretty flat, so I just ran it trough the surface planer to clean up both faces and take it down to the thickness of the maternal I wanted minus my table saw’s blade kerf.
Then a couple of re-sawing passes through my table saw, with the blade at full height. That was not quiet enough to part the 2 halves so at
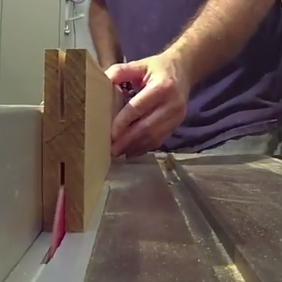
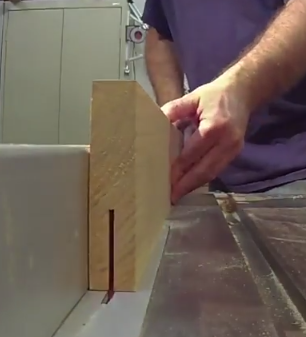 the band saw I was able to finish the cut.
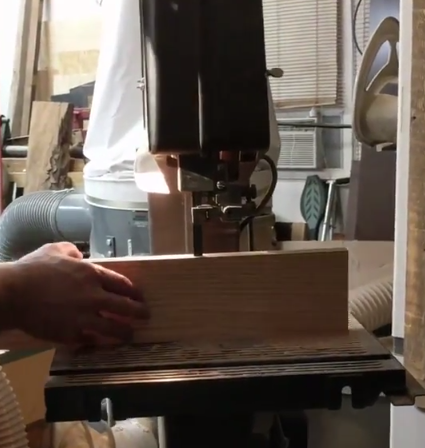
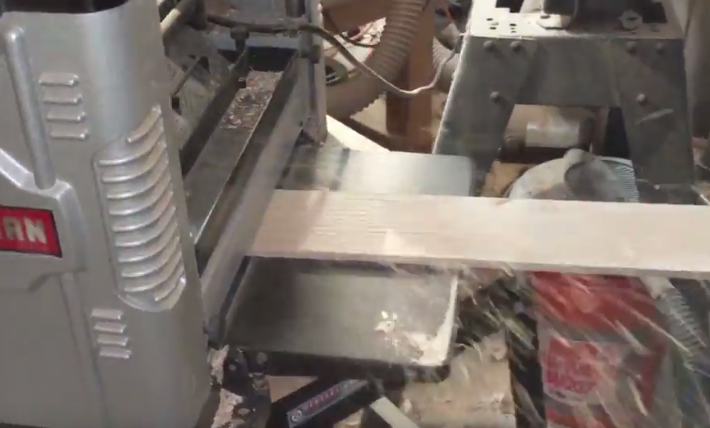 Back trough the planer on both sides to smooth out any saw marks and the high center left the band saw.
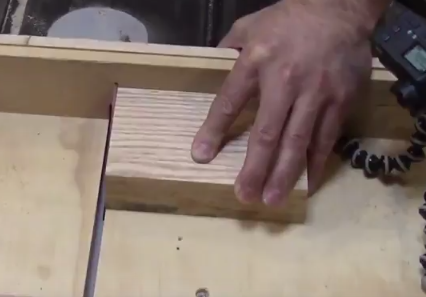
Over at the table saw I used a little cross cut sled with a stop block to cut all the small parts to length. This box is approximately 6 inches wide 3.5 inches deep and about 1.5 inches thick.

Then I ripped down some pieces to be the sides and ends.
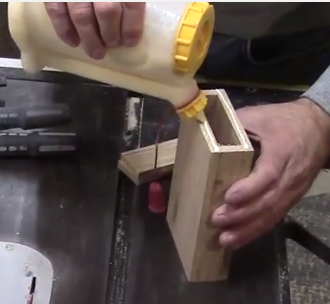
With the parts all cut I glued up four sides leaving the ends open. Clamped this up with many clamps and let it dry for about an hour.
Then back at he saw I used the cross cut sled to flush cut each end, so that during the next step when I glue on the ends I have a perfect surface to mate the end panels against.
Put some glue on the ends, and setup the end panels then clamped them down and let this glue fully cure before moving on.
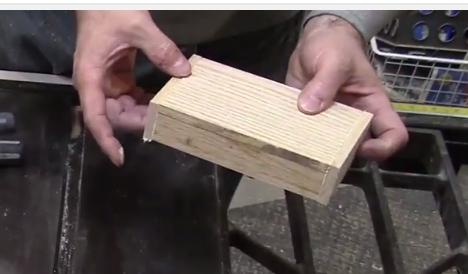
 I carefully setup my fence so I could remove almost no material (maybe 1/64th inch) but essentially flush trim the sides/ends.
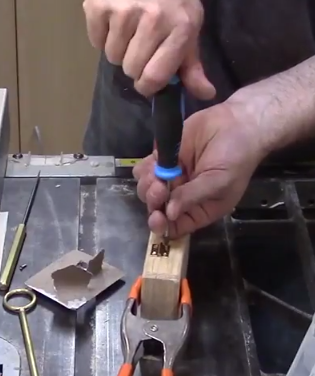
Flip the box around and move the fence slightly and trim the other side (again about 1/64th inch) leaving the box in 1 solid part and very rectangular. I used a sharp chisel to trim and make the end match the top surface. 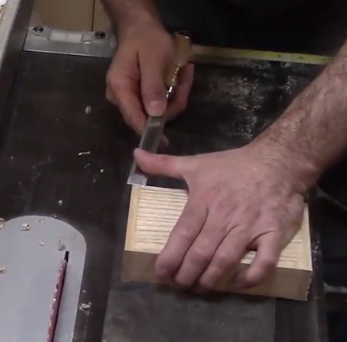
Then with my portable router table I used a small 1/4th inch round over bit to round over all the edges, carefully leaving the four shortest edges square.
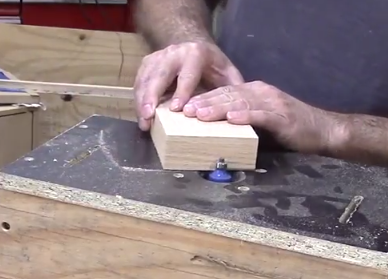
I if you watch the video you will see how I flipped the box each direction to ensure the radius lays the same on each side of the box. I also was careful with starting with end grain first so it would not chip out when I cut along the side.
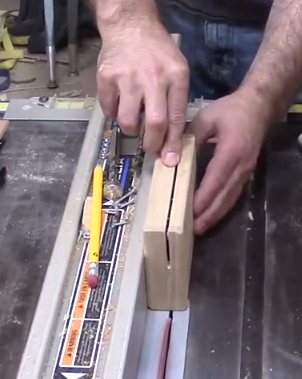
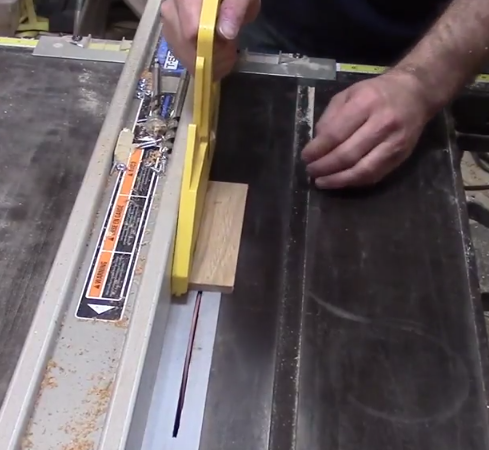
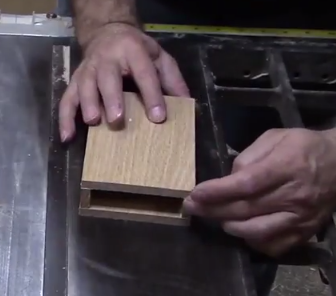
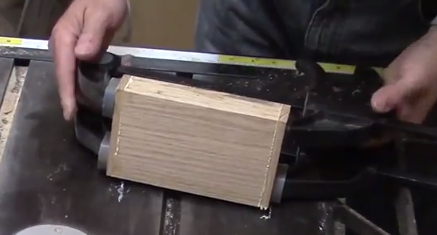
Using the fence at the table saw, I separated the box into to parts. I use a shim and painters tape to make the cut a little safer and ensure the box edge surfaces remain in good shape.
![]()
![]()
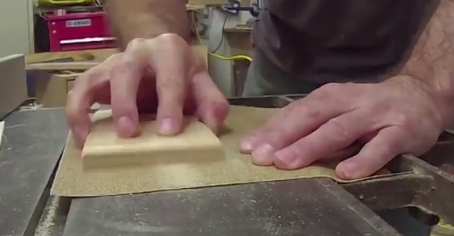
I used some sand paper on my table saw table to sand the top and bottom surfaces very flat and mating together perfectly .

I decided where I wanted to mount the hinges, and used a ice pick to mark the pilot holes for the hinges, then used a cordless drill to make pilot holes for the hinges .
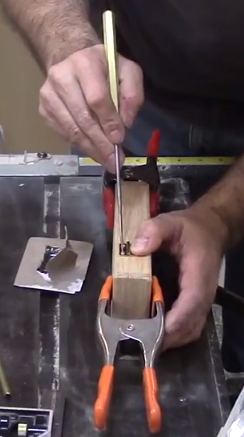
Always use a regular screw driver to install brass screws so they don’t break off.
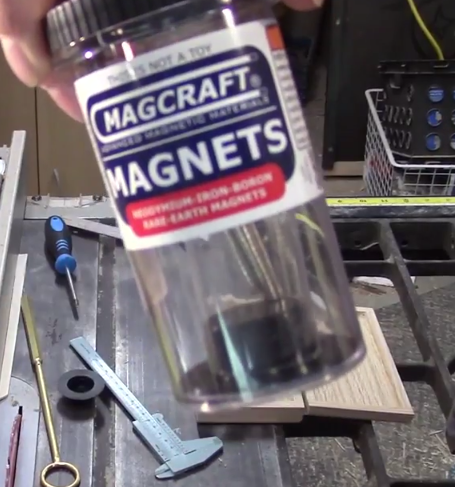
I bought some really strong magnets at the hobby store, to make the a clasp to hold the box lid closed.
I covered the corner with some painters tape to keep the box from sticking together and drilled a hole for the magnet, and placed a magnet in the hole, and placed another magnet on top of the one in the hole then coated with ink from a sharpie, closing the box then left a perfectly aligned mark for the hole on the opposing box lid. 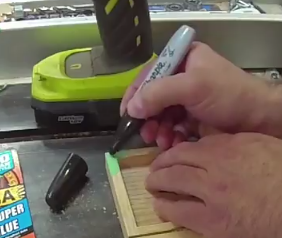
Then I used some CA glue to permanently set the magnets in place, I repeated the same process on the other side of the box.
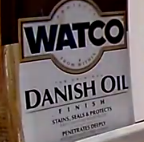
I used some Danish Oil to finish the box, sanding between coats.


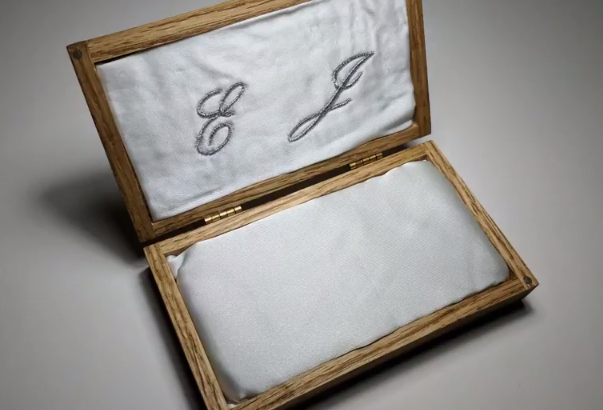
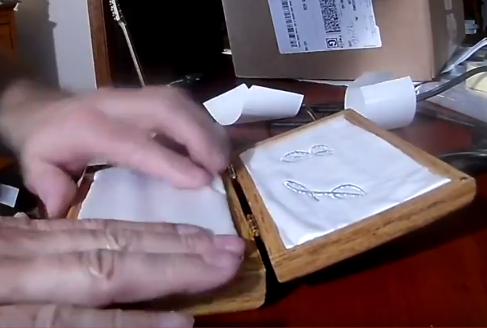
For the inside of the box I found some nice white “Wedding looking fabric” for lack of a better thing to call it.
My mom has a really nice machine that does embroidery and she was able to put the couples initials on the fabric for the top, and she also made a little foam cushion for the bottom.
Overall it was a fairly quick project, that could be a gift for friends, or could work pretty well as an item to sell on an Etsy store, you don’t have to do the more custom work with the fabric you could do something very basic. Hope you enjoyed this project. Check out the build video over on YouTube.
