
My kids are avid gamers, and since we moved in to our house they have had their gaming rigs setup in a finished portion of our basement. The problem was that the basement had be modestly finished with simulated wood (read ugly) paneling and the bi-fold door that separated the space from the unfinished side of the basement had long since been removed presumably because it had worn out and broken some time over the course of its lifespan.
For Christmas they also received a new gaming console and a tv so they wanted that mounted in their (Jr. Man Cave). Over the past month we have been working on remolding the space. The theme for the room was “Barn/Rustic” so the first or of business was to create a sliding barn door to separate the finished space from the unfinished. Along with this article you can also watch my YouTube build video here. The build video shows the details of how I made the hardware from common items found at most home centers, and used reclaimed ballet wood for the door.
As with any woodworking or shop project, tools and shop projects can be dangerous, know, follow and understand the safety guidelines of your tools, wear hearing and eye protection. Never do any operation you do not feel personally comfortable with. Just be cause you saw some guy on the internet do it, does not mean you should if you don’t fully understand the risks involved (Build at your own RISK!)
Pallets
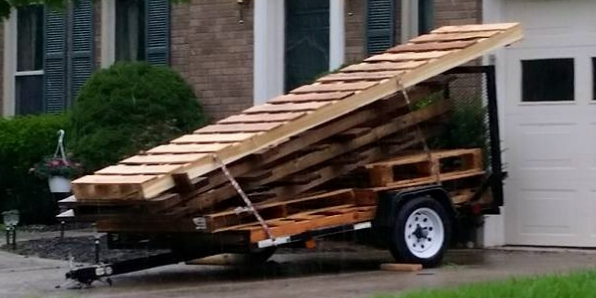
For the wood for this project I used all reclaimed a pallet material such as these.
Much of the pallets were collected last summer and the boards harvested, and left stacked outside to age naturally for several months.
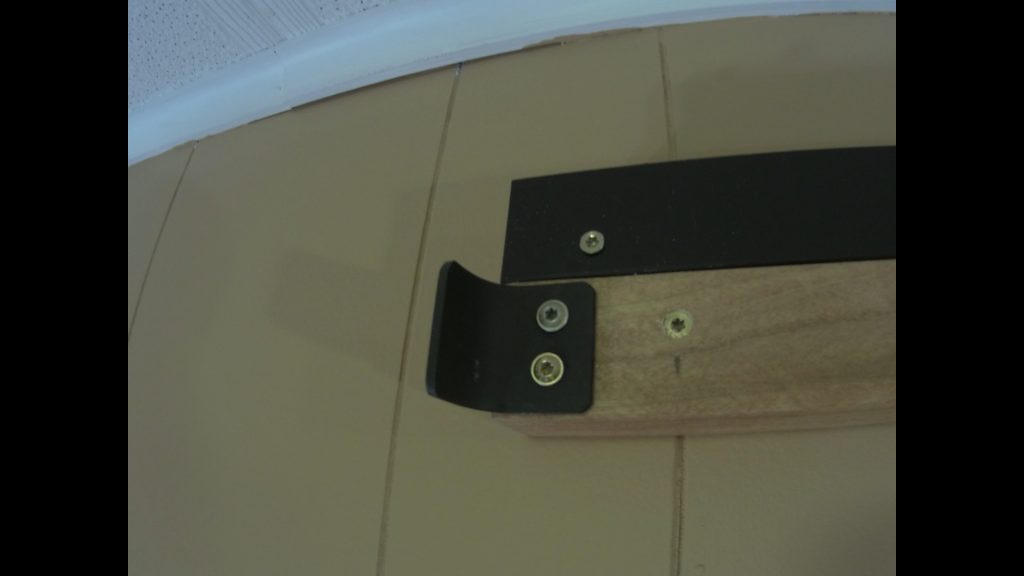
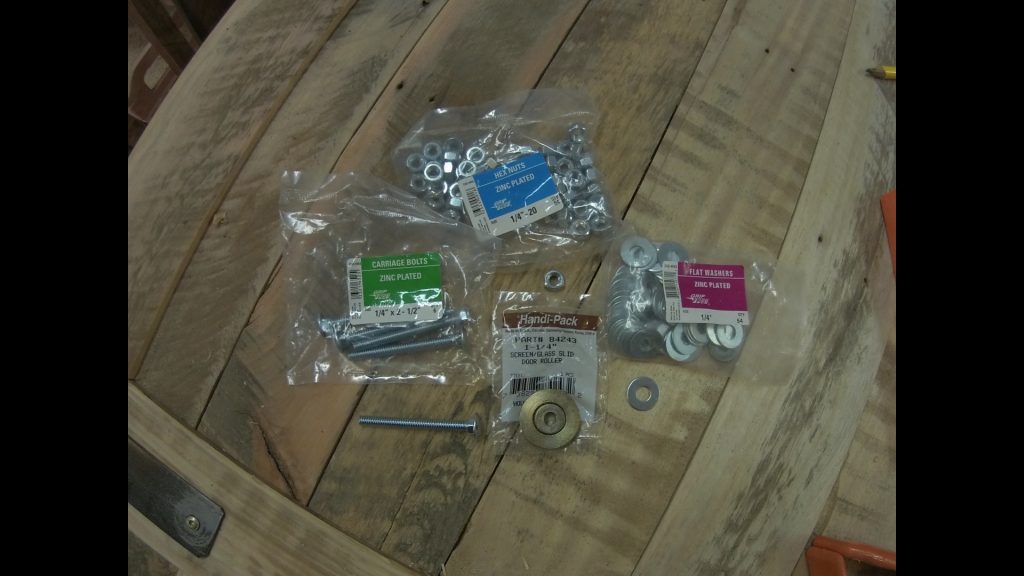
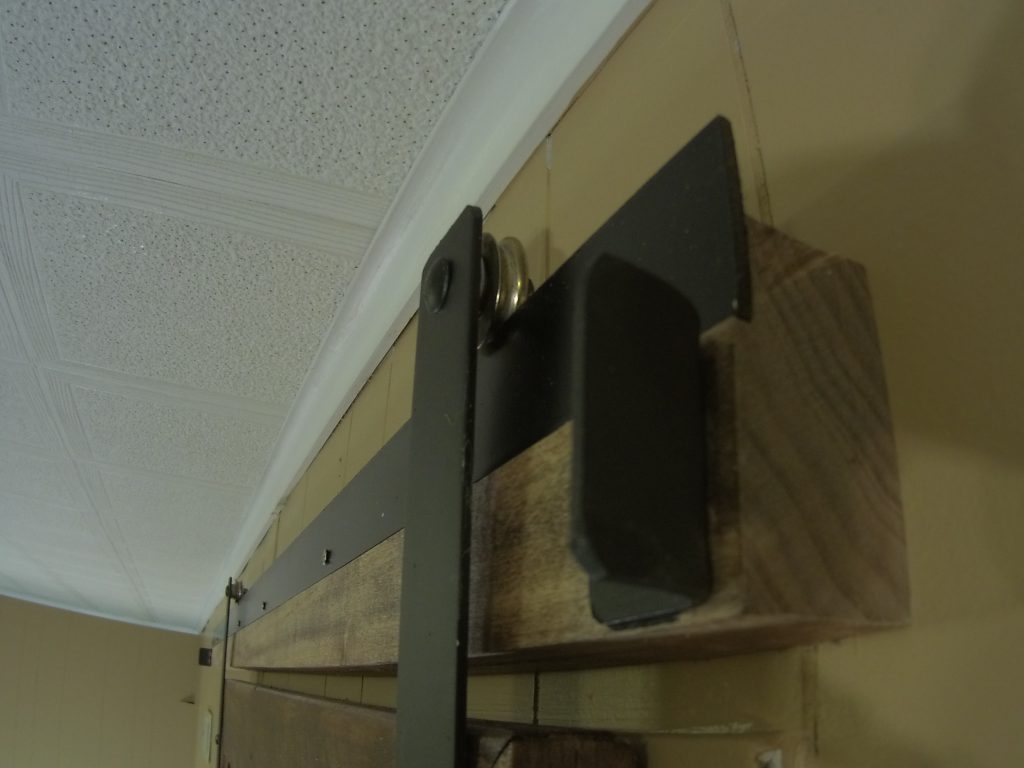
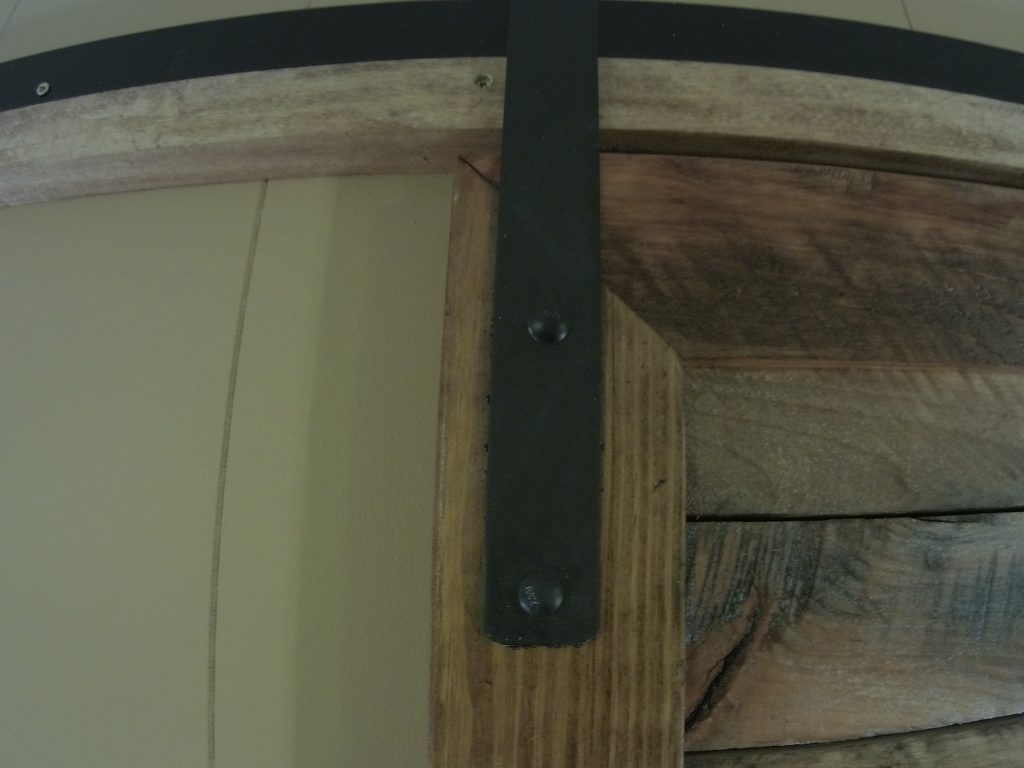
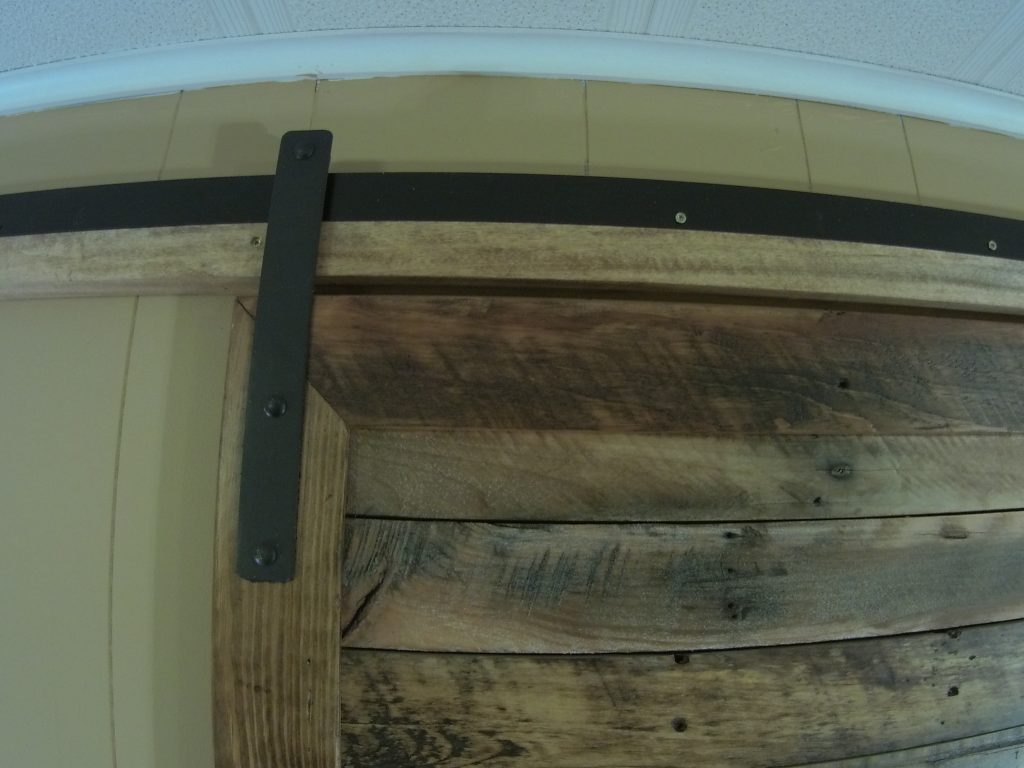
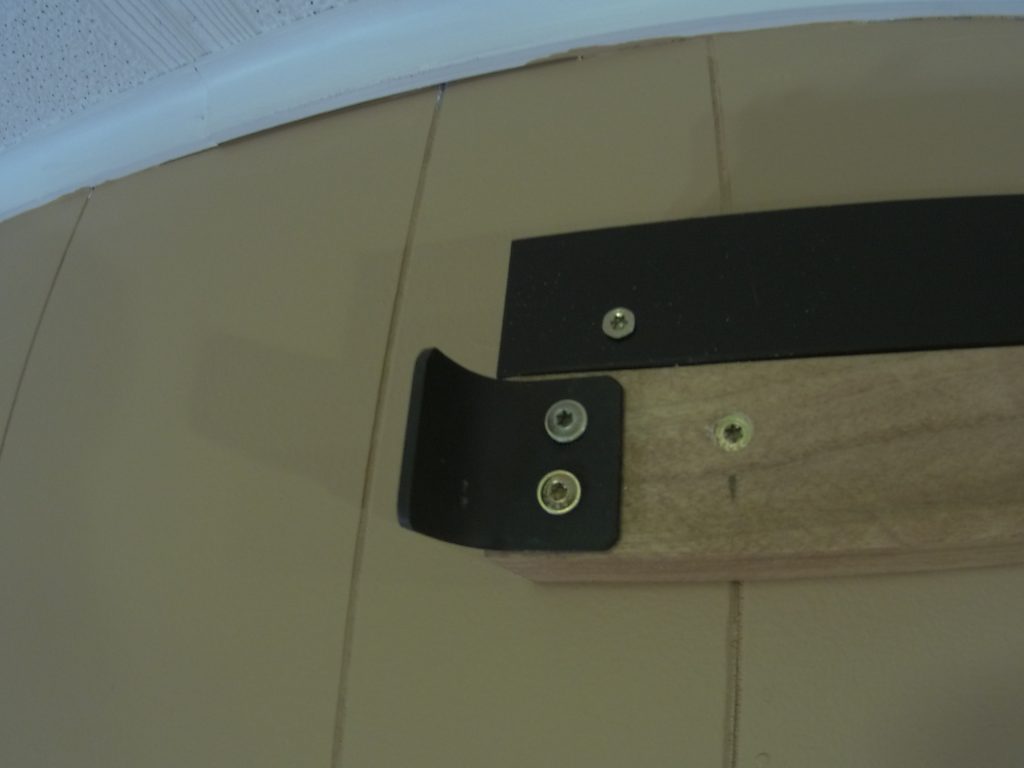
I started the project by making the track for the door, so that it could be hung and then measurements taken to build the door. For the track, mechanism and related hardware I used items that can be purchased at most big box home stores.
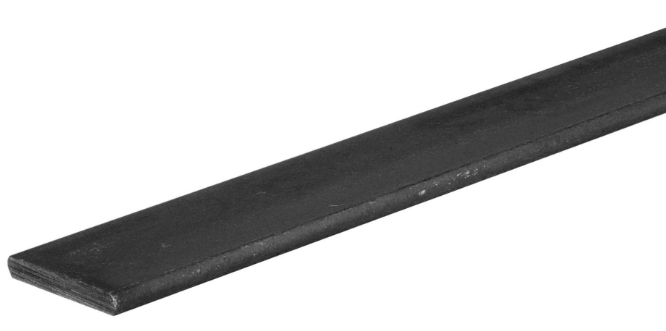
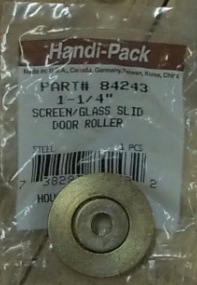 The track itself is 1/8″ x 1-1/2″ welding steel, the rollers are 1-1/4″ Screen Door Rollers. I used a plank to back up the metal track to give it some rigidity and hold it away from the wall to clear the door and the roller mechanism.

Track Hardware Assembly
For the full details on the track and door build you can watch the build video .
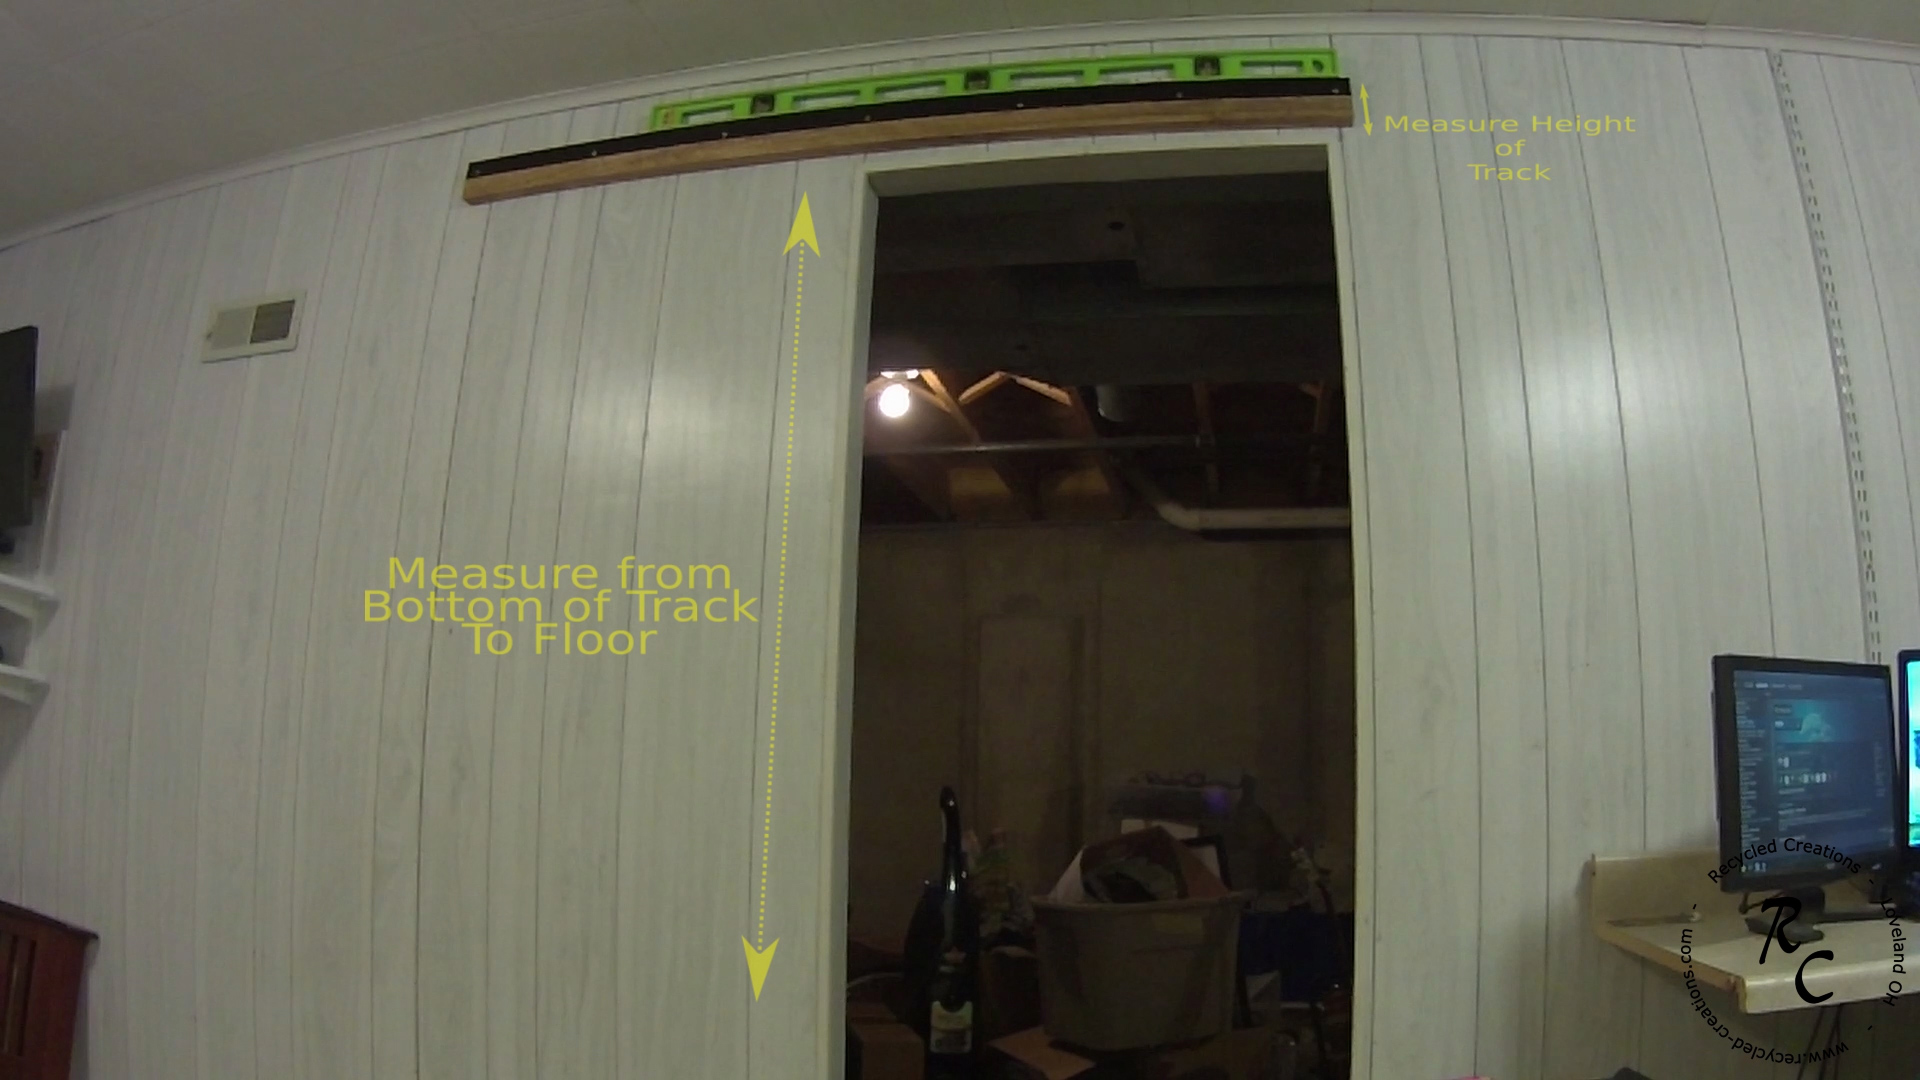
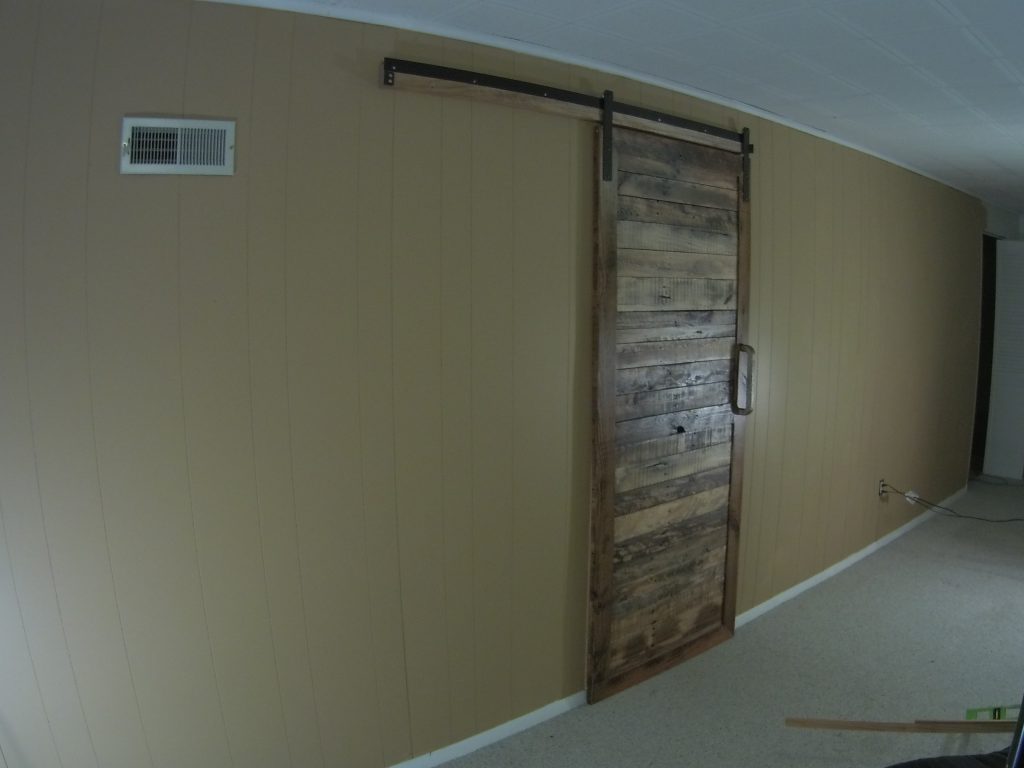
Once the track is mounted above the door measure the distance from the bottom of the track to the floor and the height of the track assembly. The distance from the bottom of the track to the floor minus what ever gap you want between the track assembly and the door and the bottom of the door and the floor is the height of the door itself. because I wanted an 80″ door I mounted the track so that the bottom of the track was 81″ from the floor this allowed for 1/2″ between the door and the track and a 1/2″ under the door. You can then determine the length of the door hangers by adding the height of the track, plus the gap between the door and the bottom of the track then add a sufficient length to attach to the door side stiles.

Door Hangers
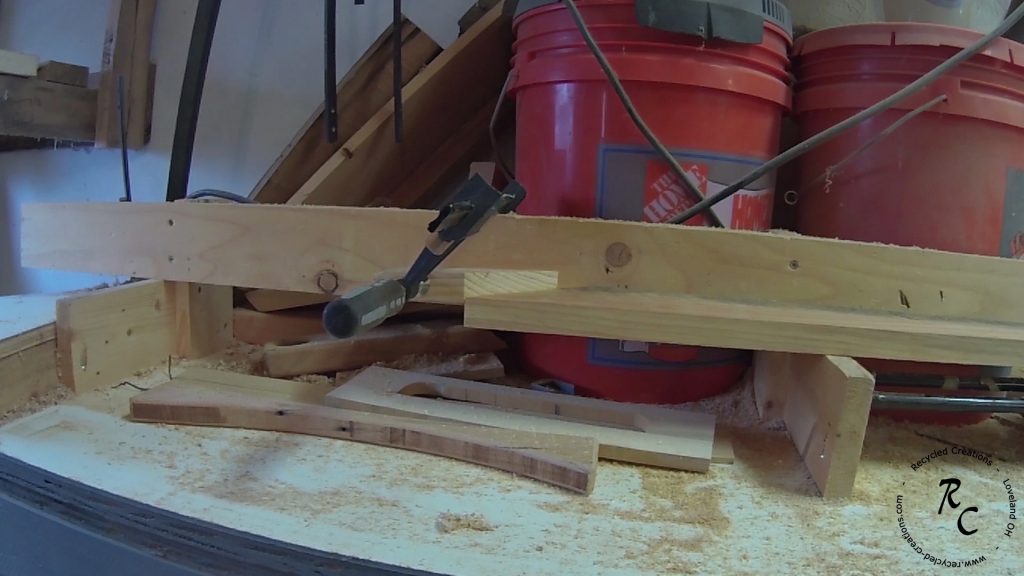
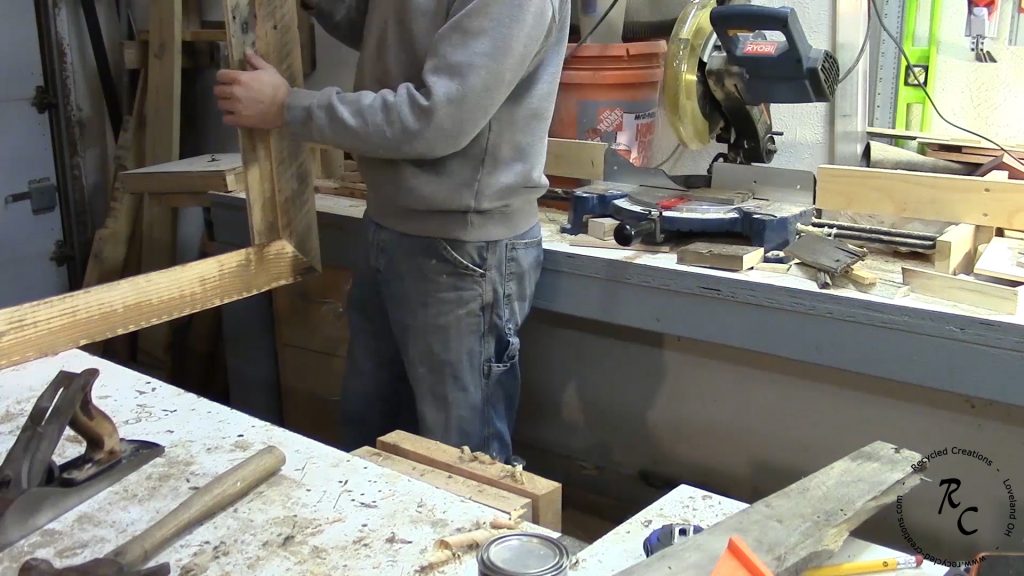
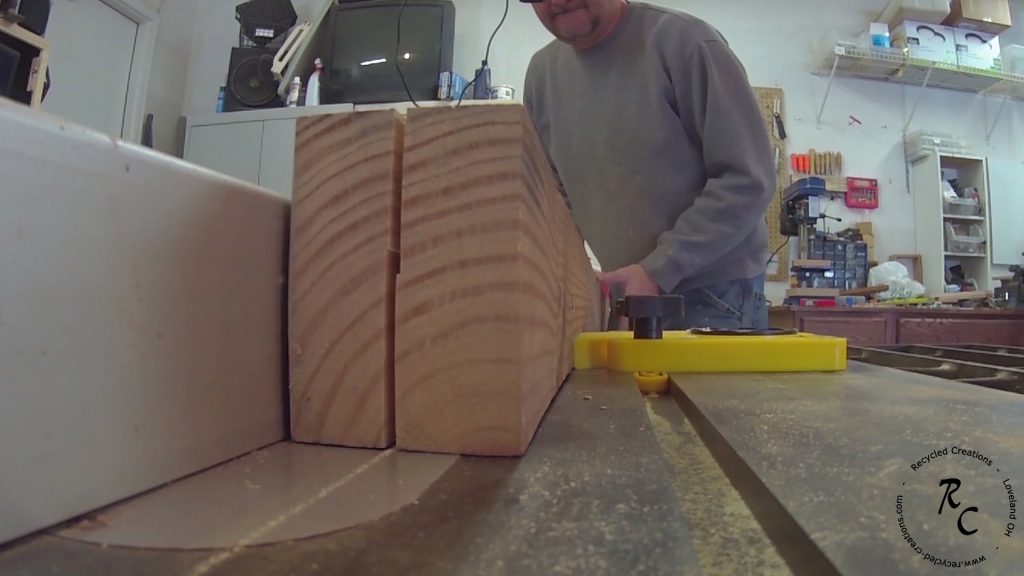
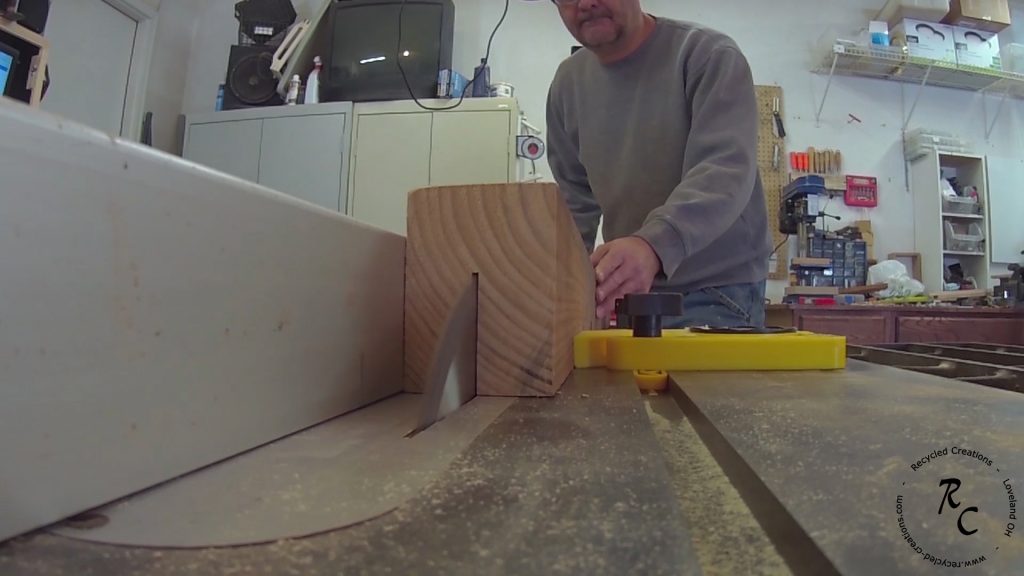
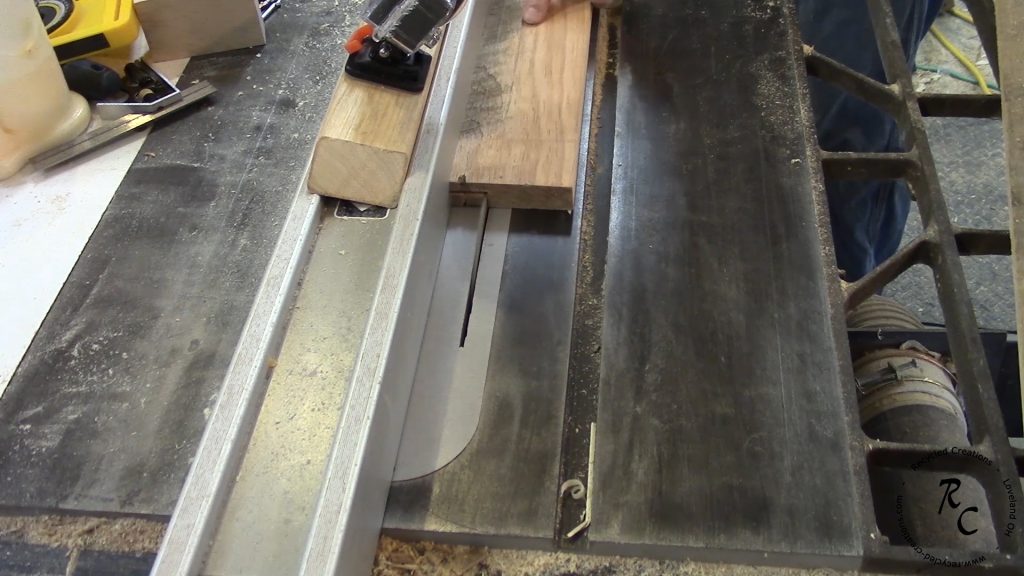
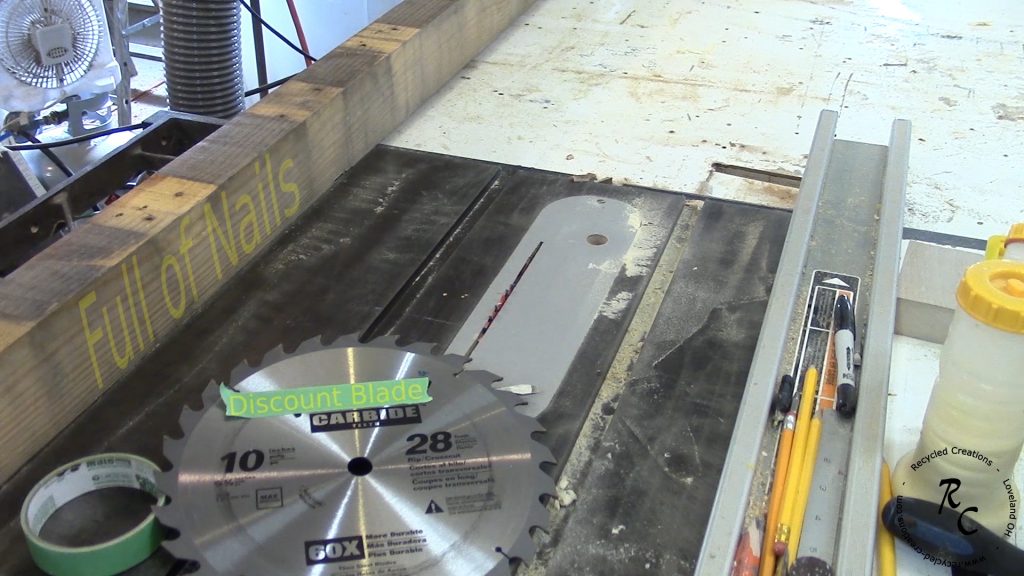
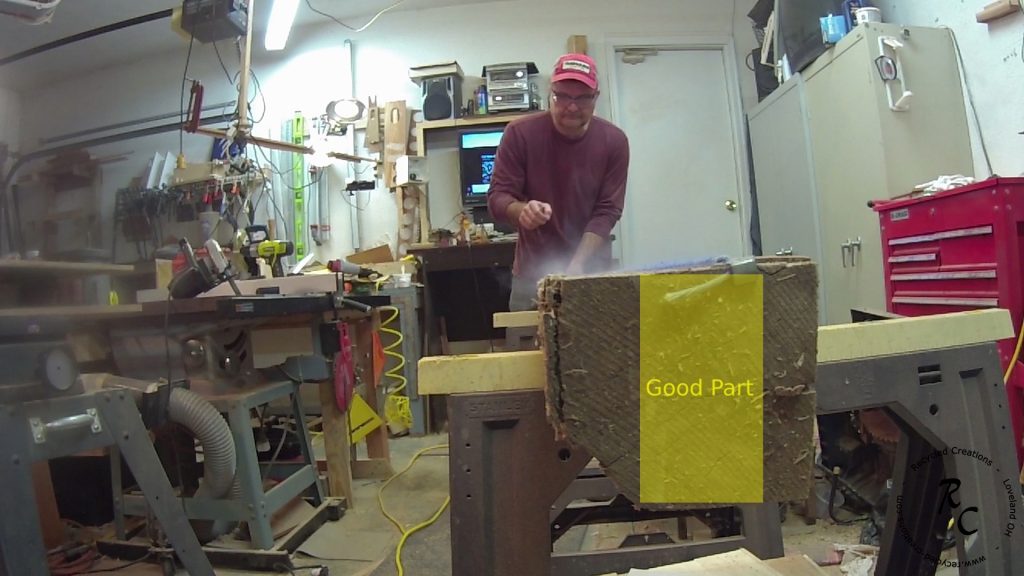
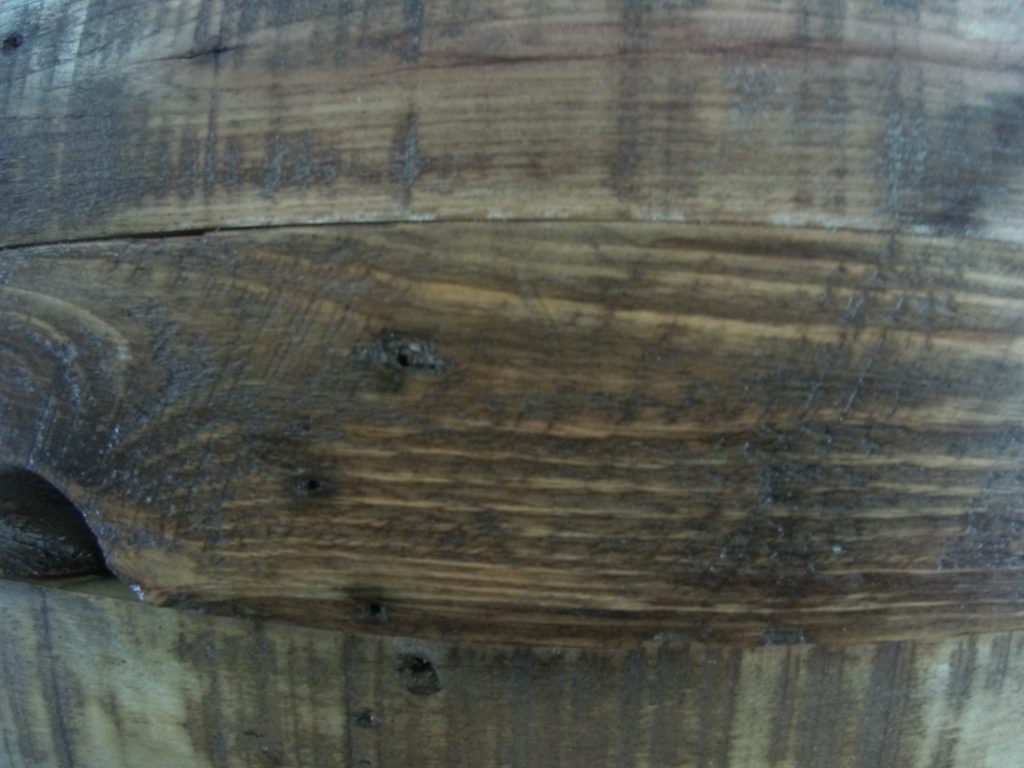
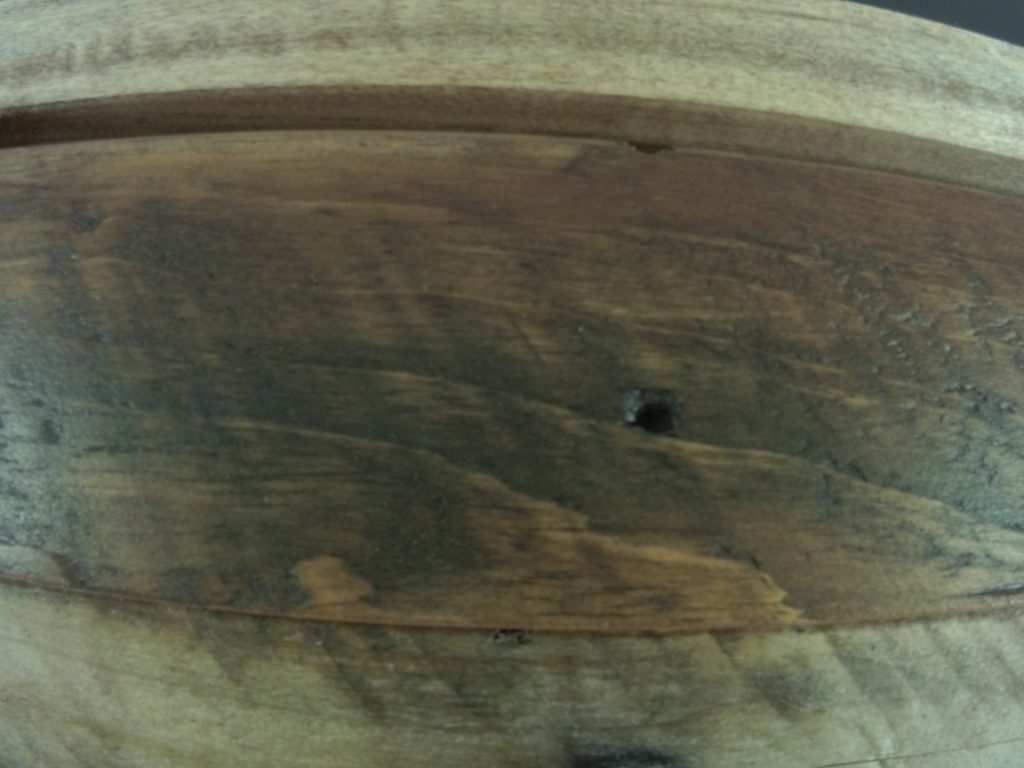
The door itself was created by re-sawing some larger pallet rails in to 1″ stock using the rough sawn side with natural patina as the face. 
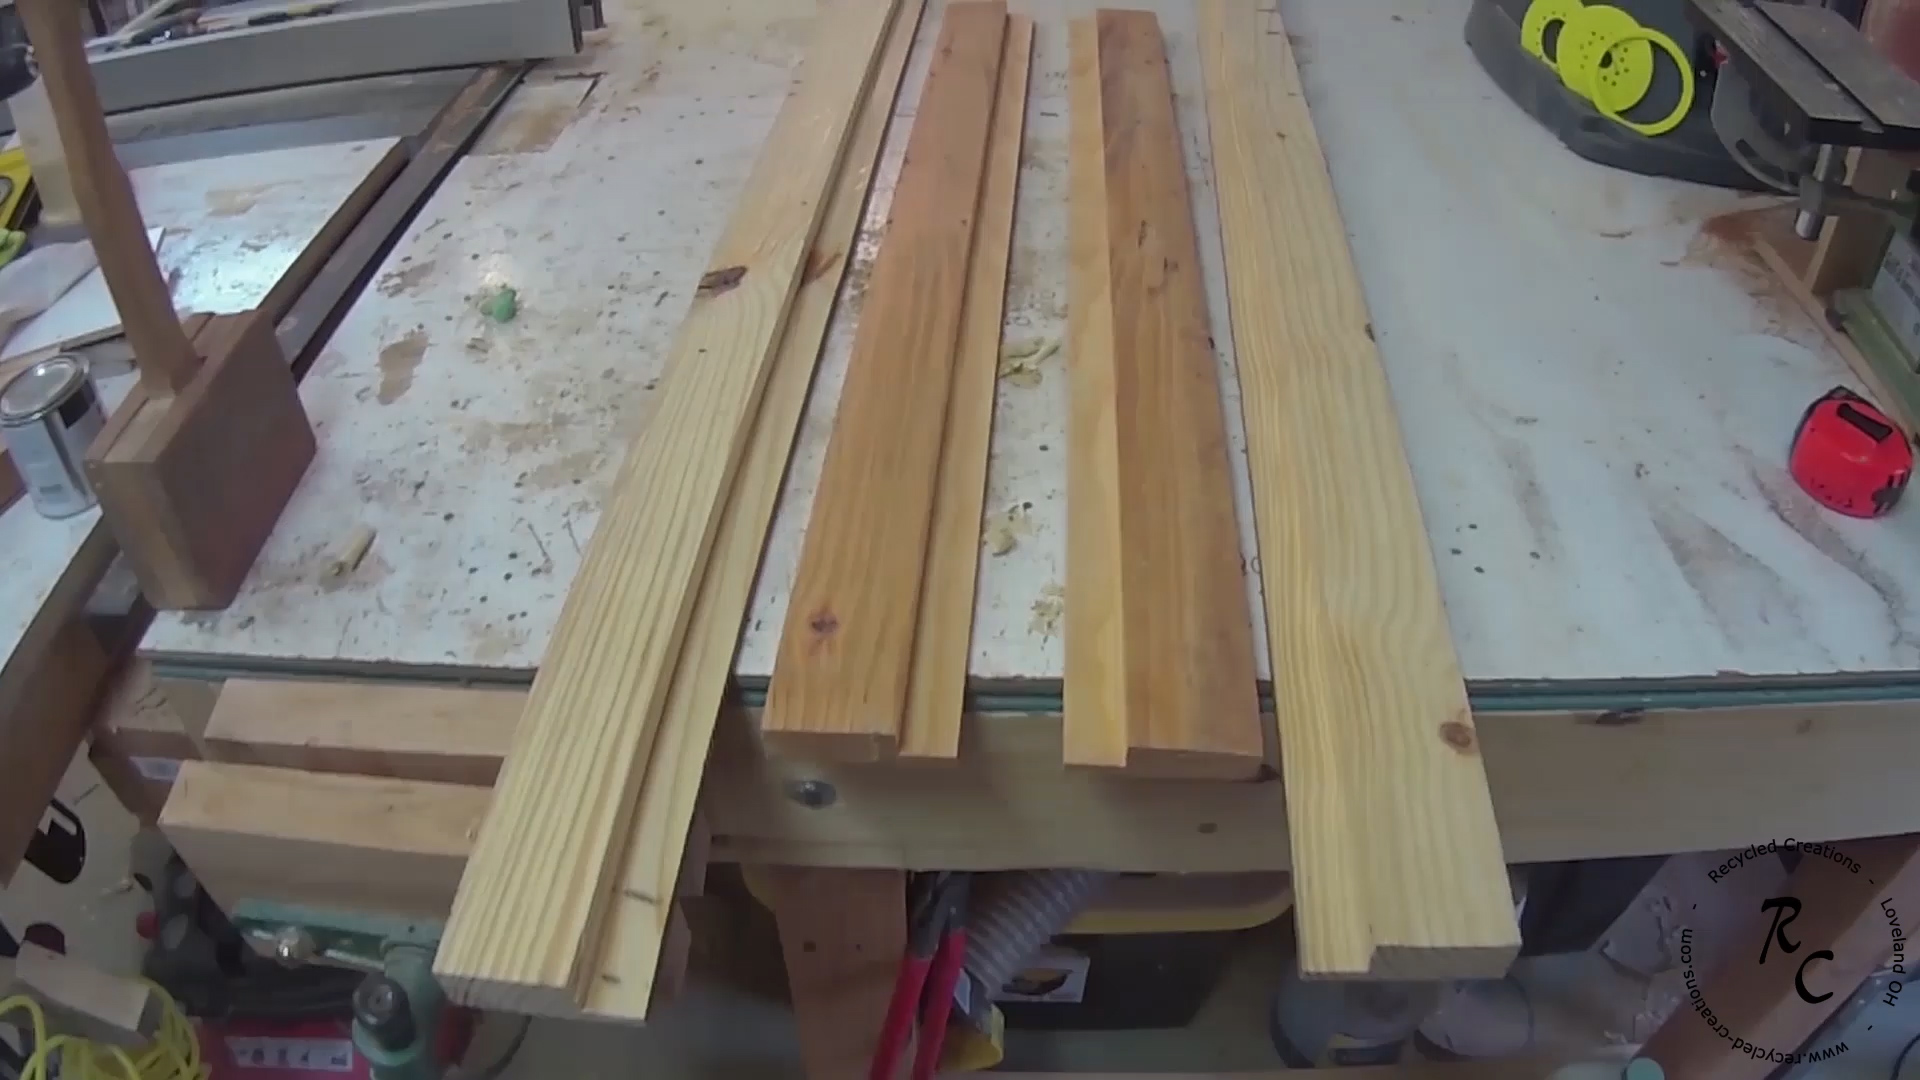
Door Parts
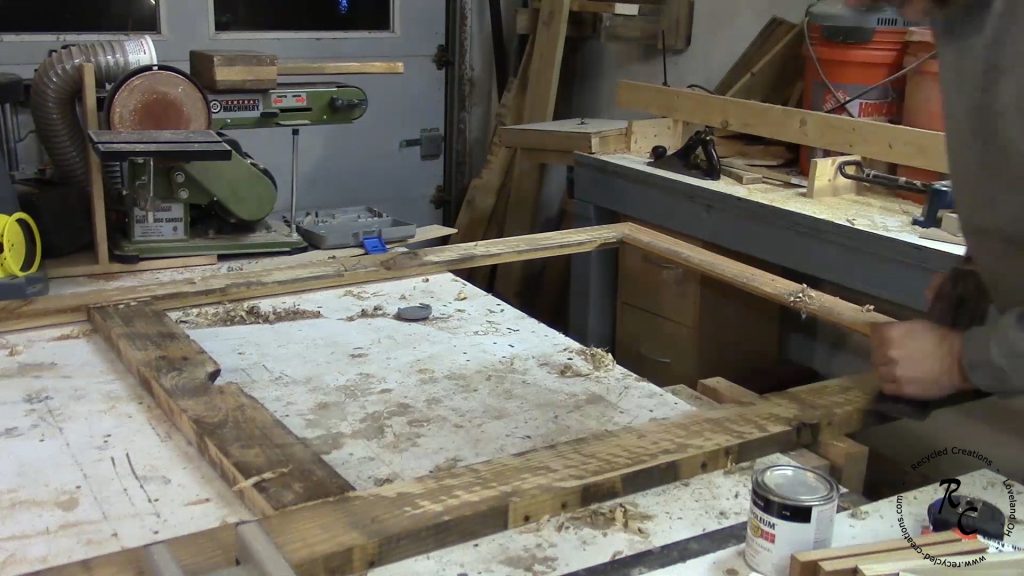
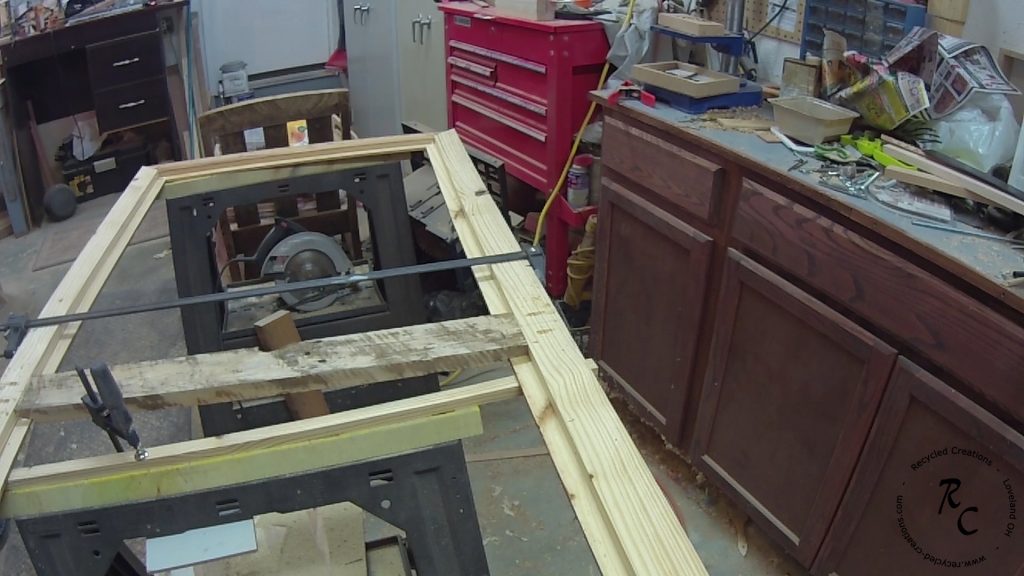
I ended up with the top and side stiles that looked like this:
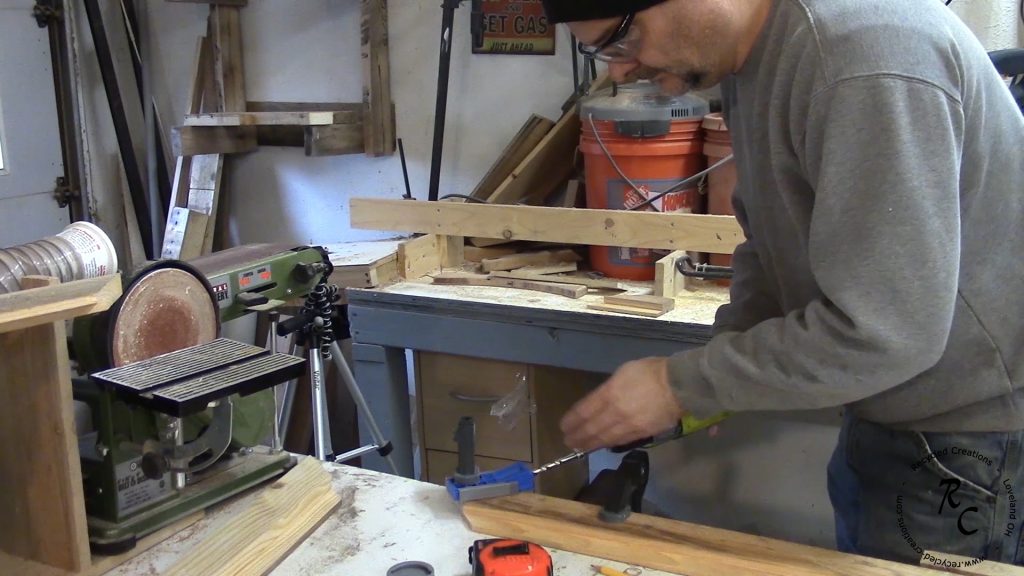
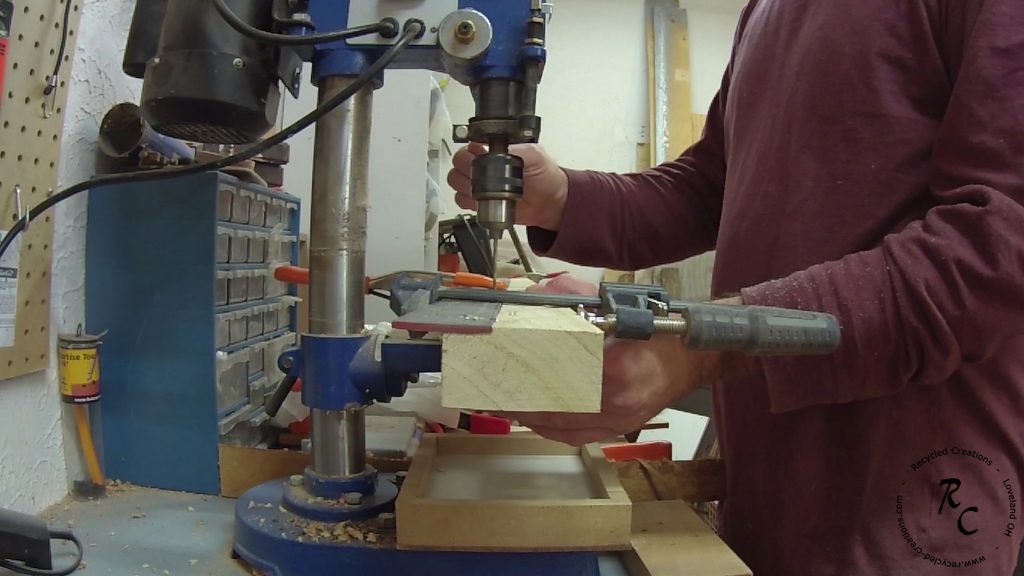
I mitered the corners and used water activated glue, and pocket holes to connect the parts, I also cut a center rail, with corresponding rabbits and used pocket hole screws to attach as well but I left out the glue in case I needed to make adjustments during the build process or if expansion of the slats were to cause problems down the road.

Center rail
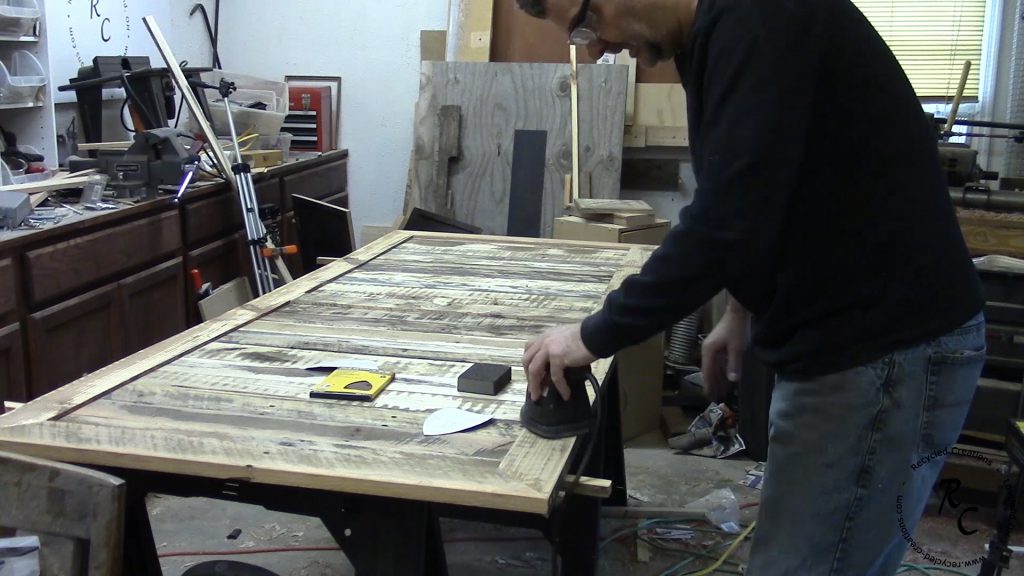
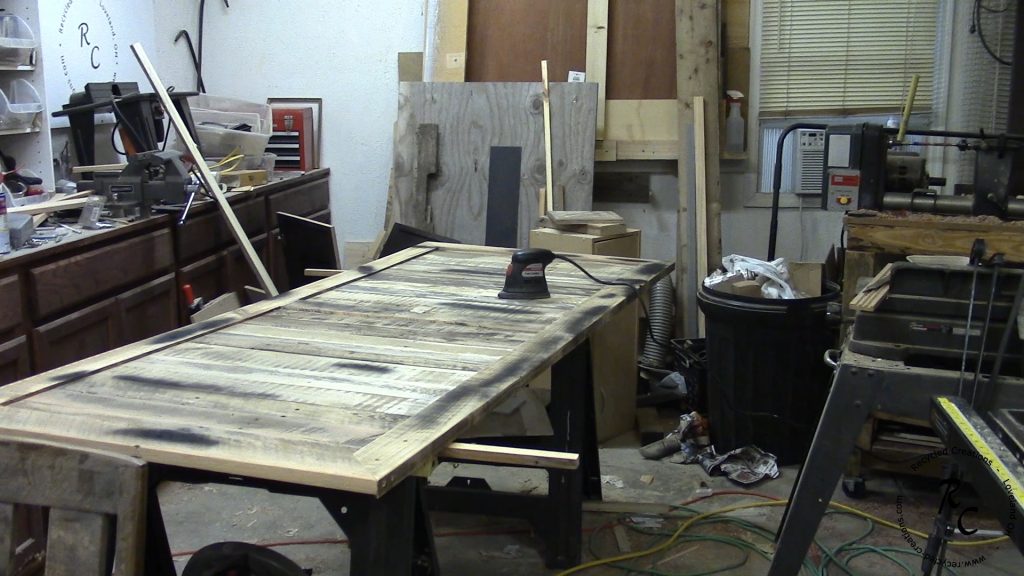
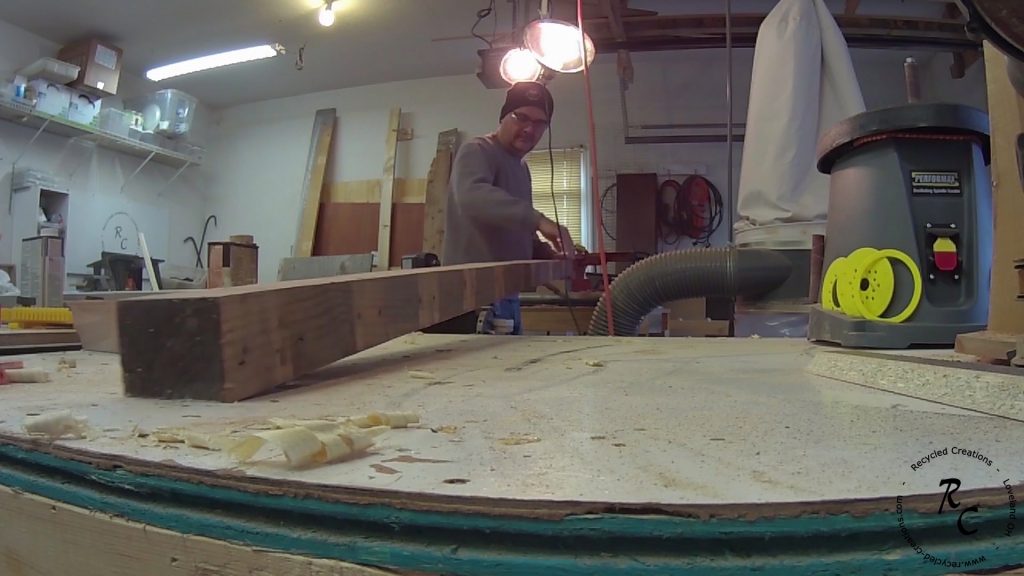
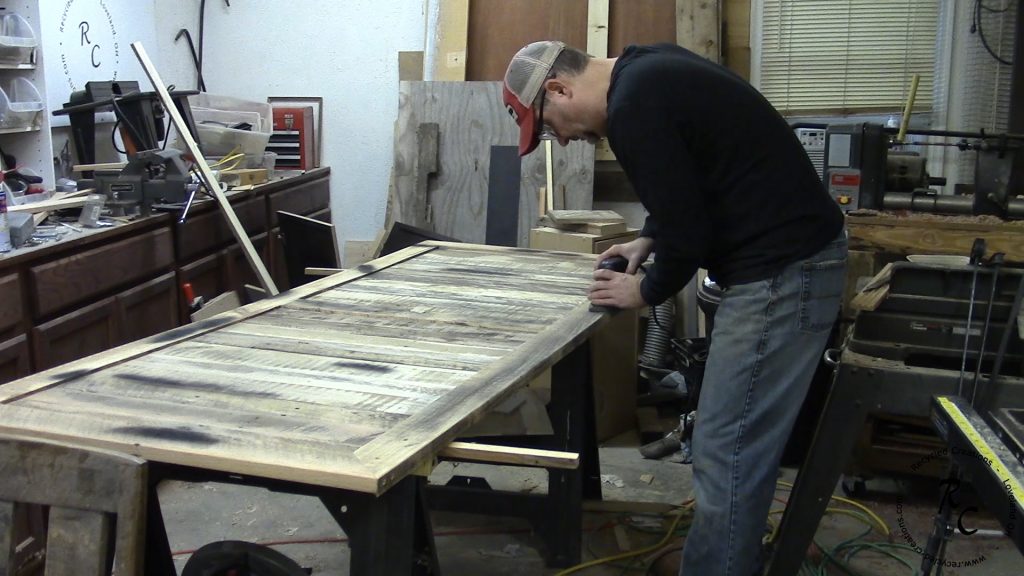
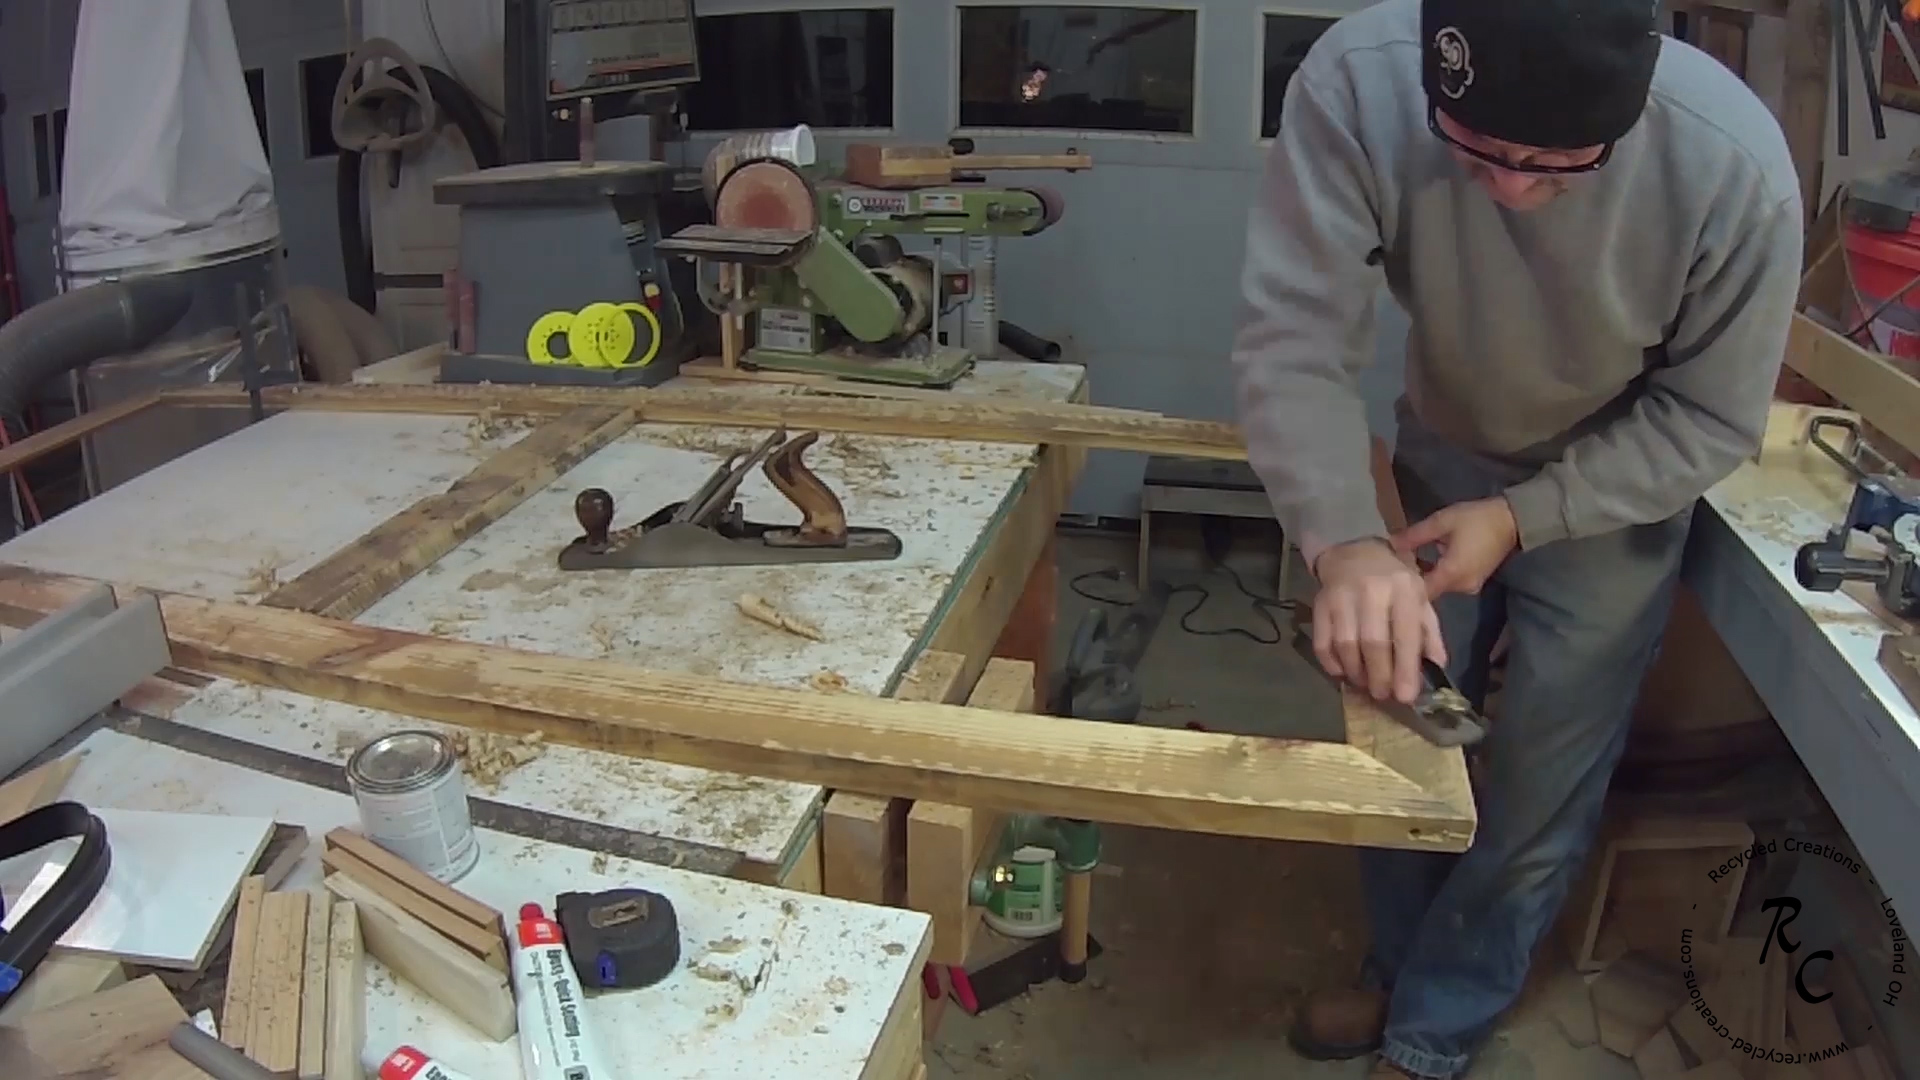 To add to the aged look of the door I used my hand planes to smooth the door some, but leaving natural patina in some places. Don’t go over board here, you just want to slightly refine the look of the lumber with out removing the all the highs and lows created when the lumber was sawn. You are trying to create an “Aged” look as if the door was removed from an old structure, after years of being warn smooth by time, and handling etc.
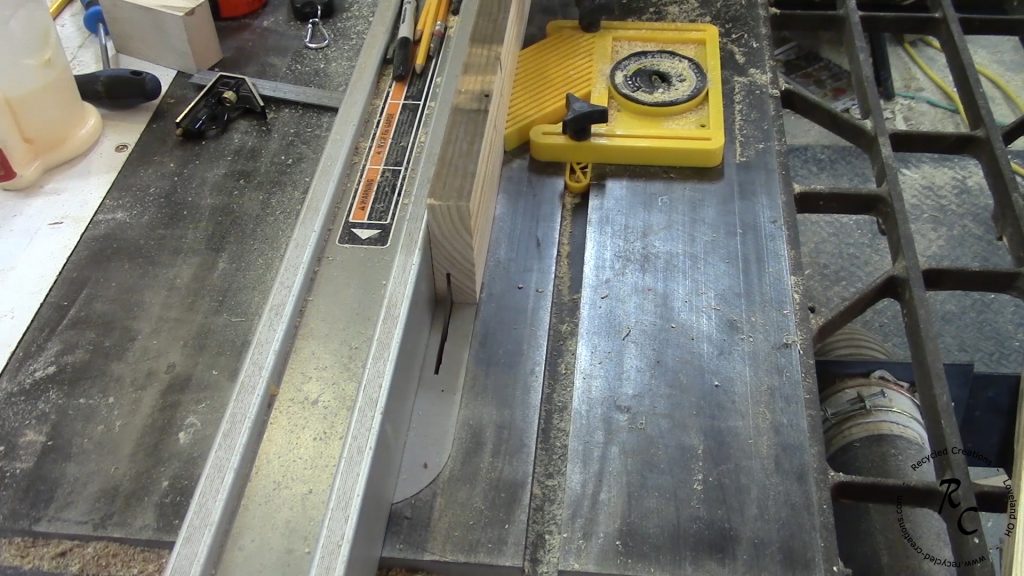
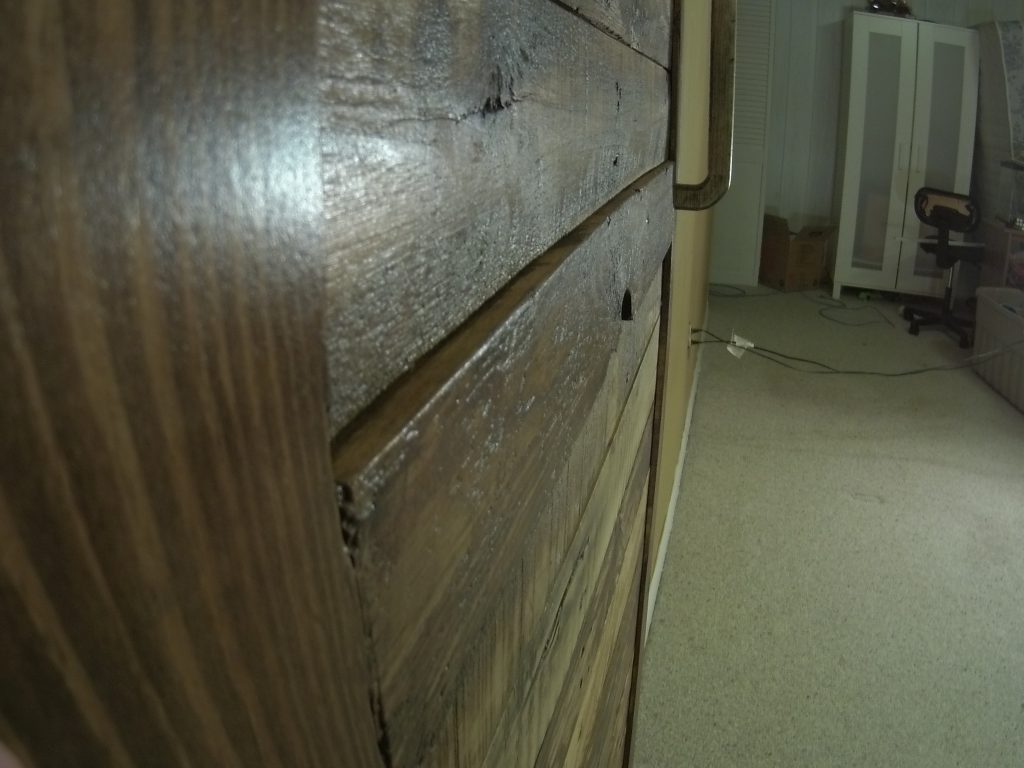
Once I had the frame rails and stiles looking the way I wanted, I cut the “slats” and used a similar method to smooth then them fit them in to the door frame and nailed in place with 1 -1/4 inch brand nails. 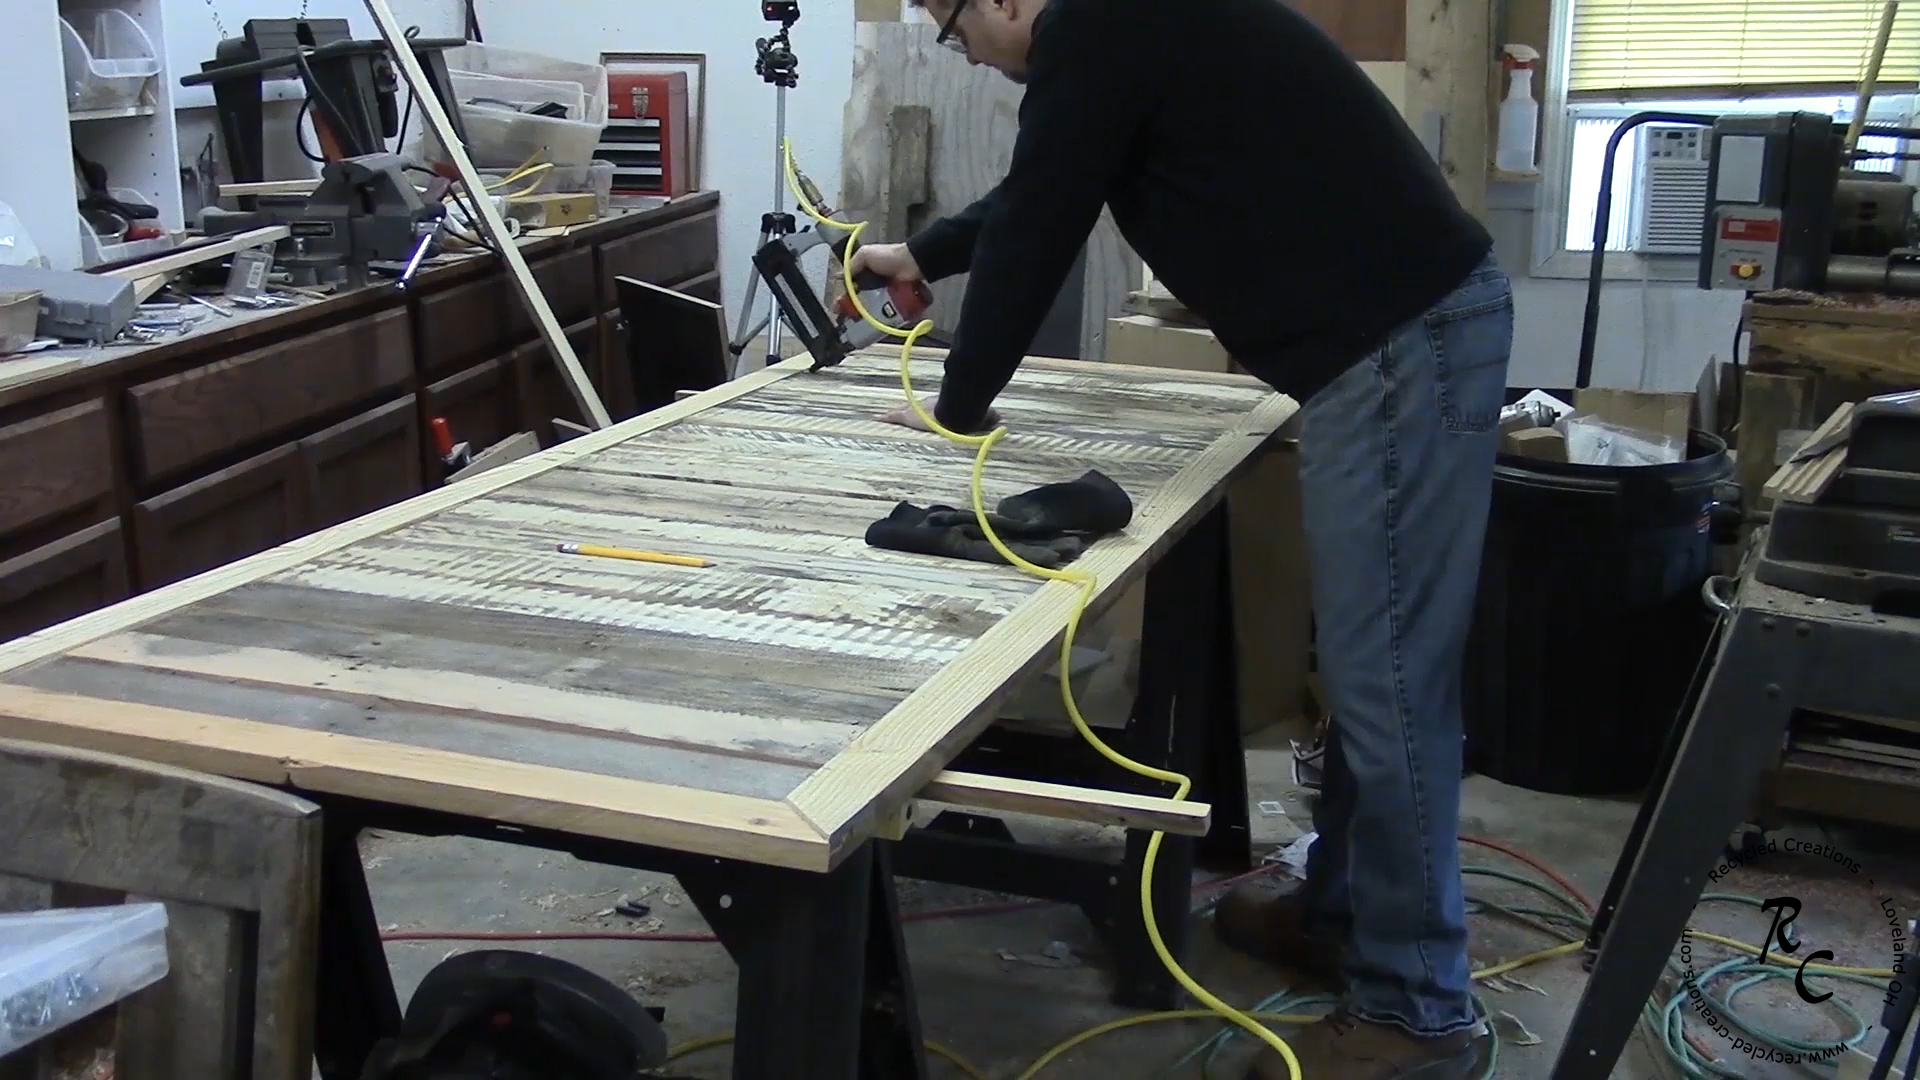
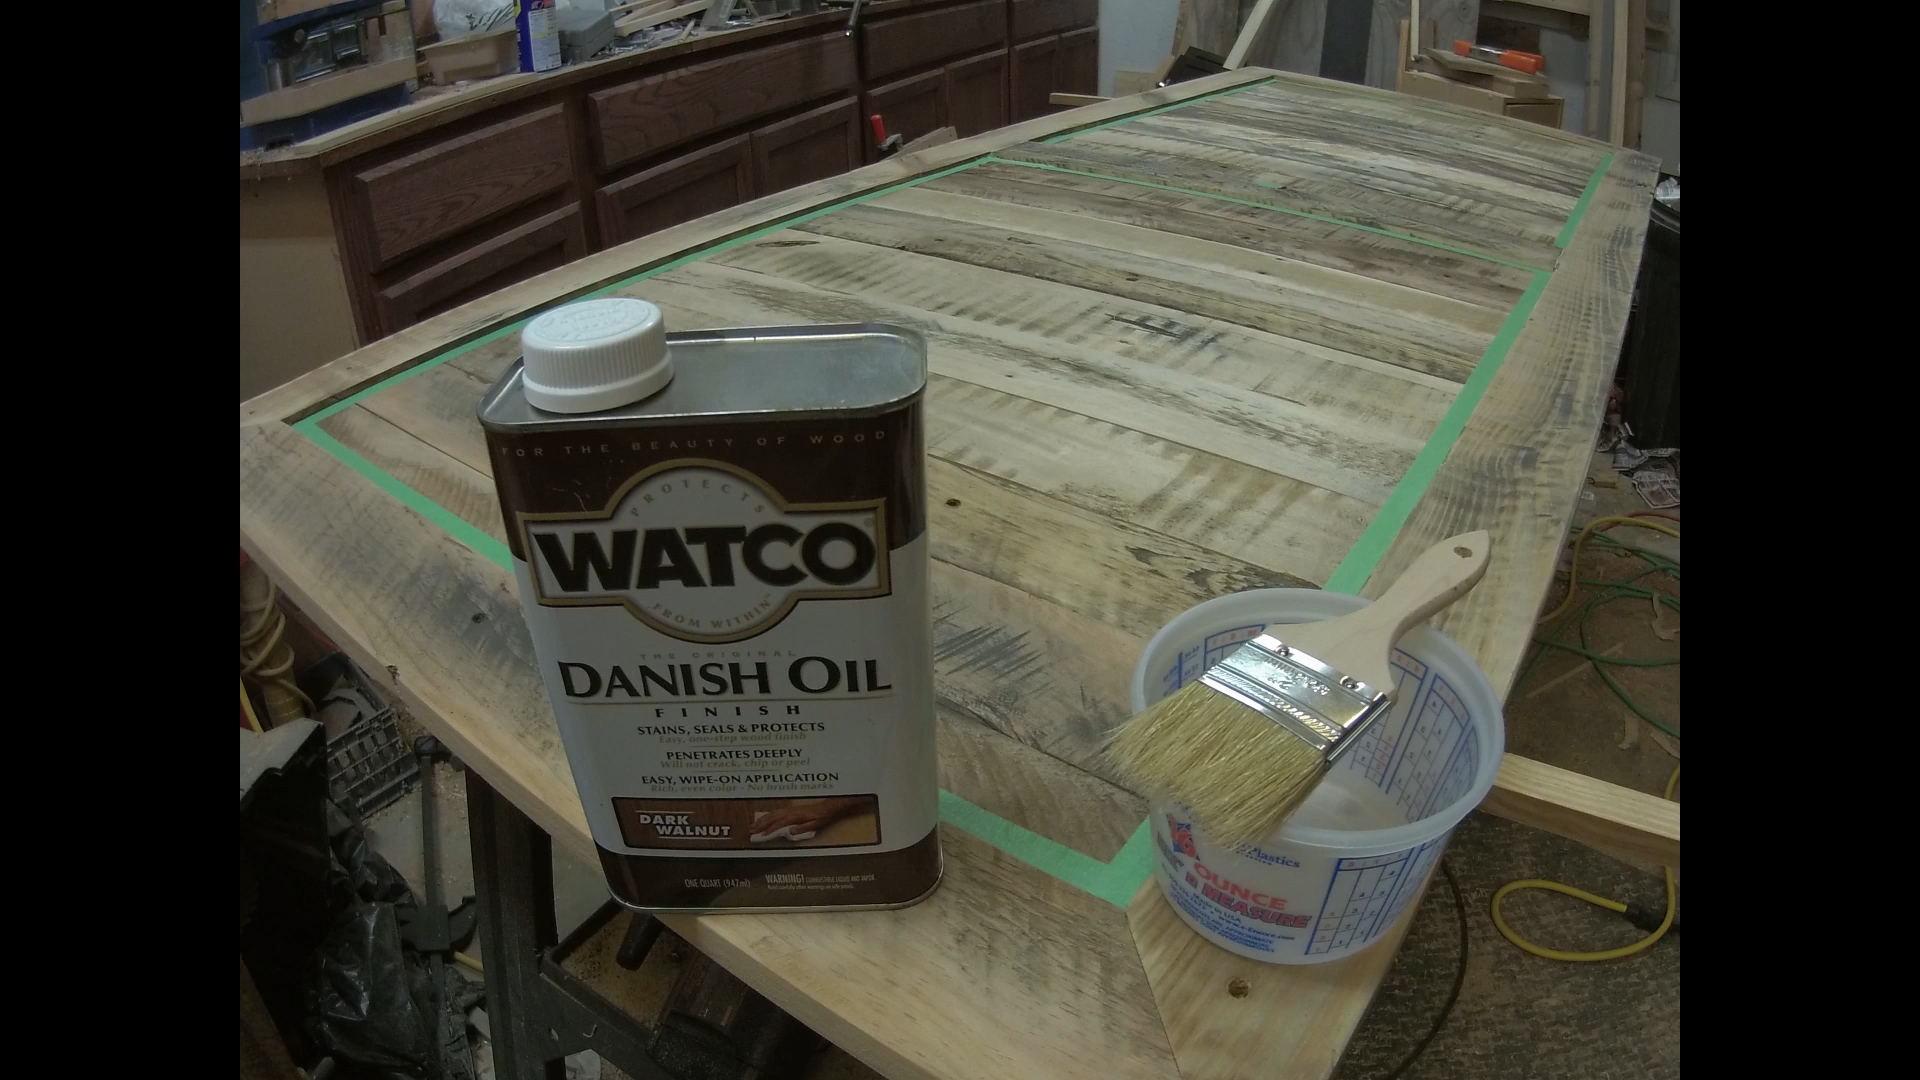
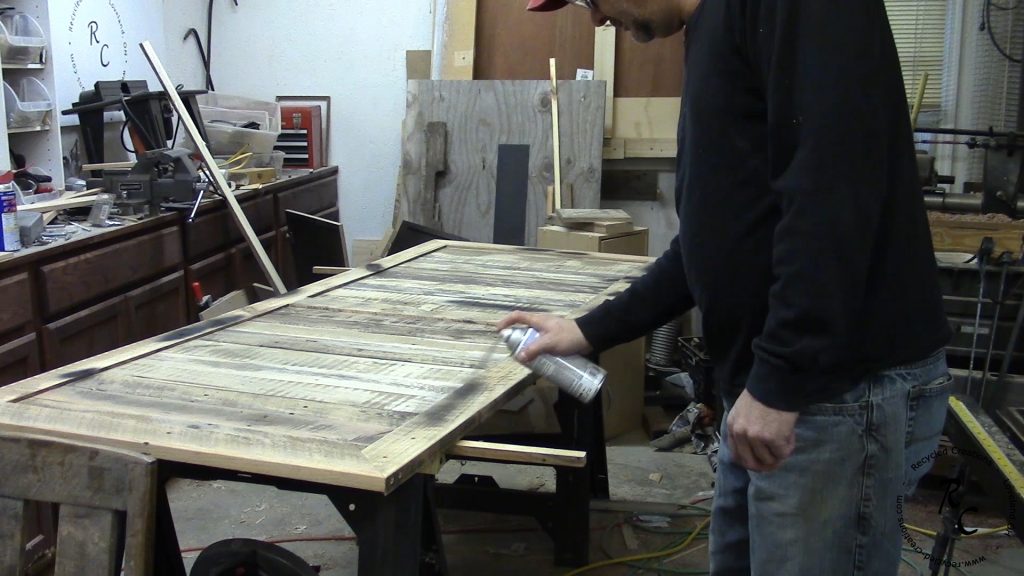
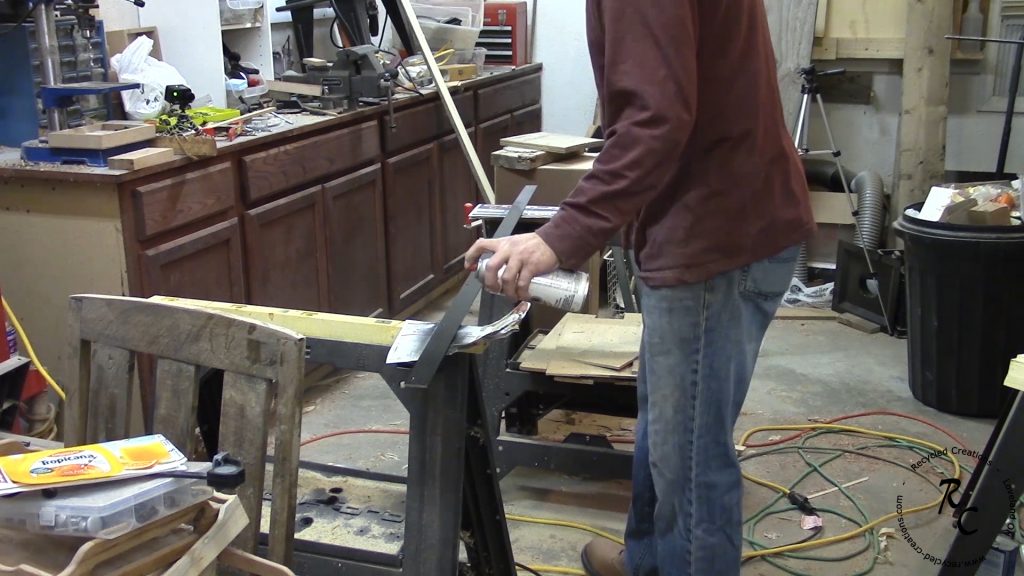
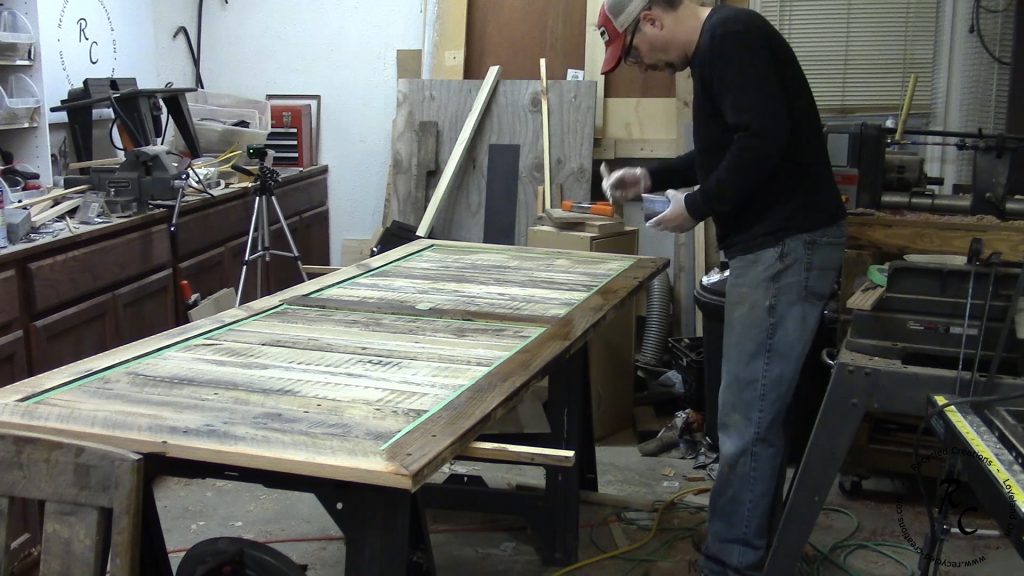
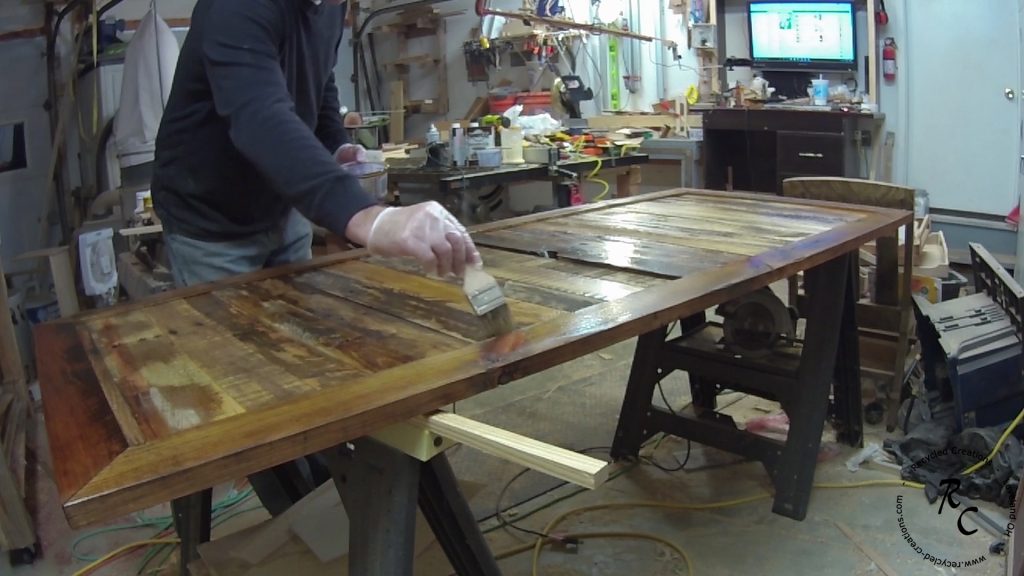
I used various techniques to highlight the distressed features of the rough sawn lumber, such as blending some flat black spray paint randomly placed in areas. (again see the video for details) I wanted the frame to appear slightly darker than the field of the door so I taped off the door, and applied a very heavy coat of walnut stain tinted Danish oil, flooding the entire surface of the rails and stiles and let it soak in not wiping any off. Once this process was complete I removed the tape and used natural Danish oil on the field of the door.

Finally I sprayed 2 coats of lacquer over the entire thing once it had dried for several hours with a light sand with a 100 grit sanding sponge between coats.
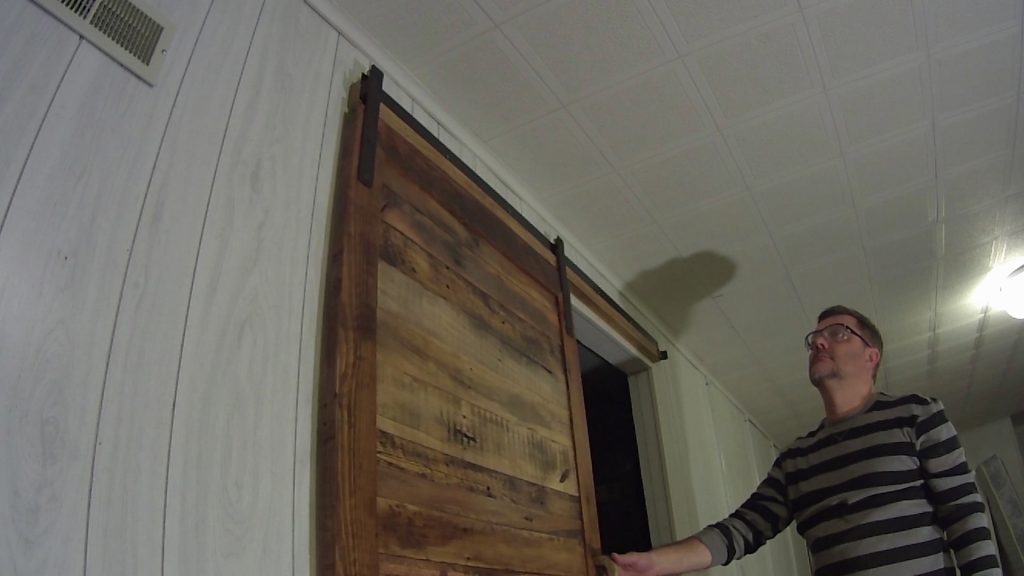
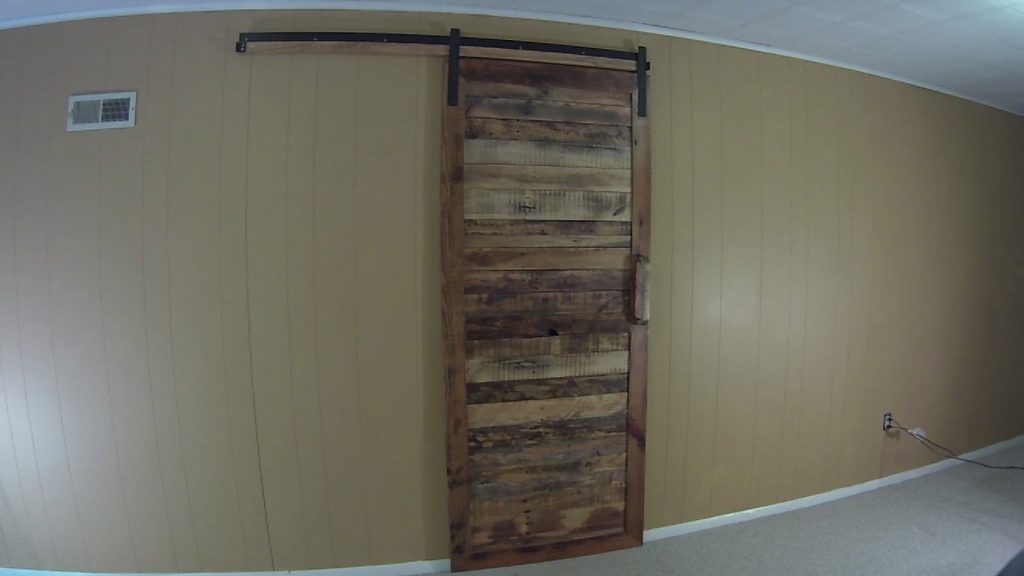
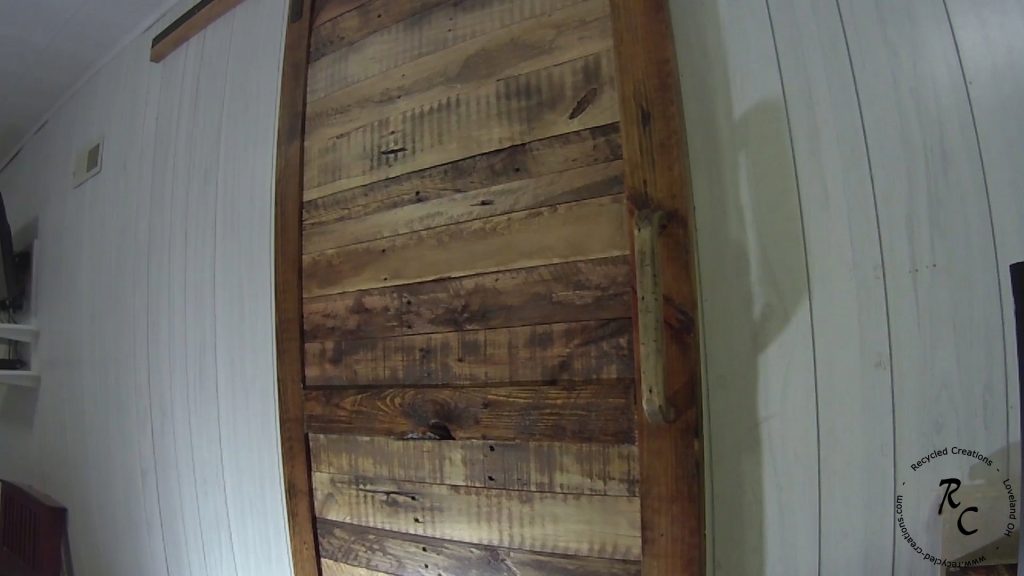
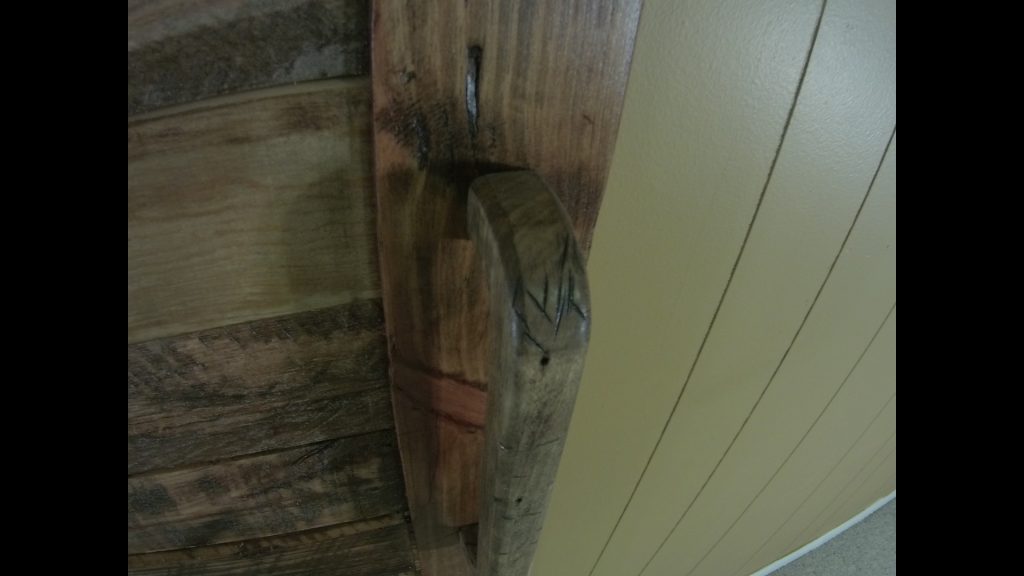
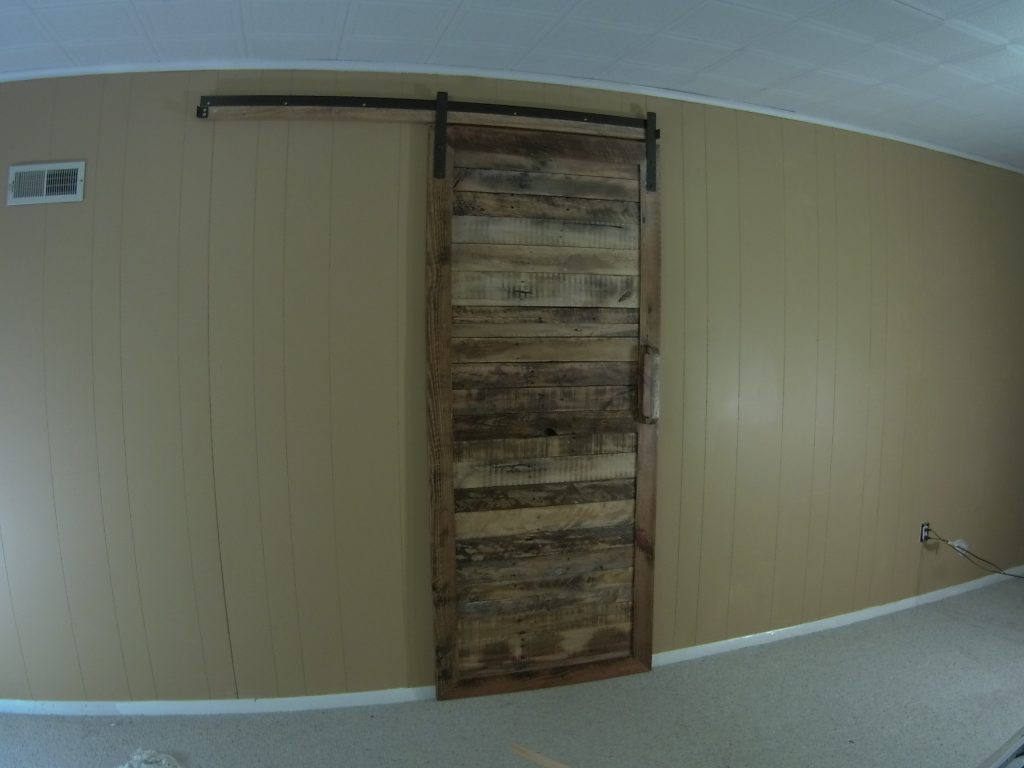
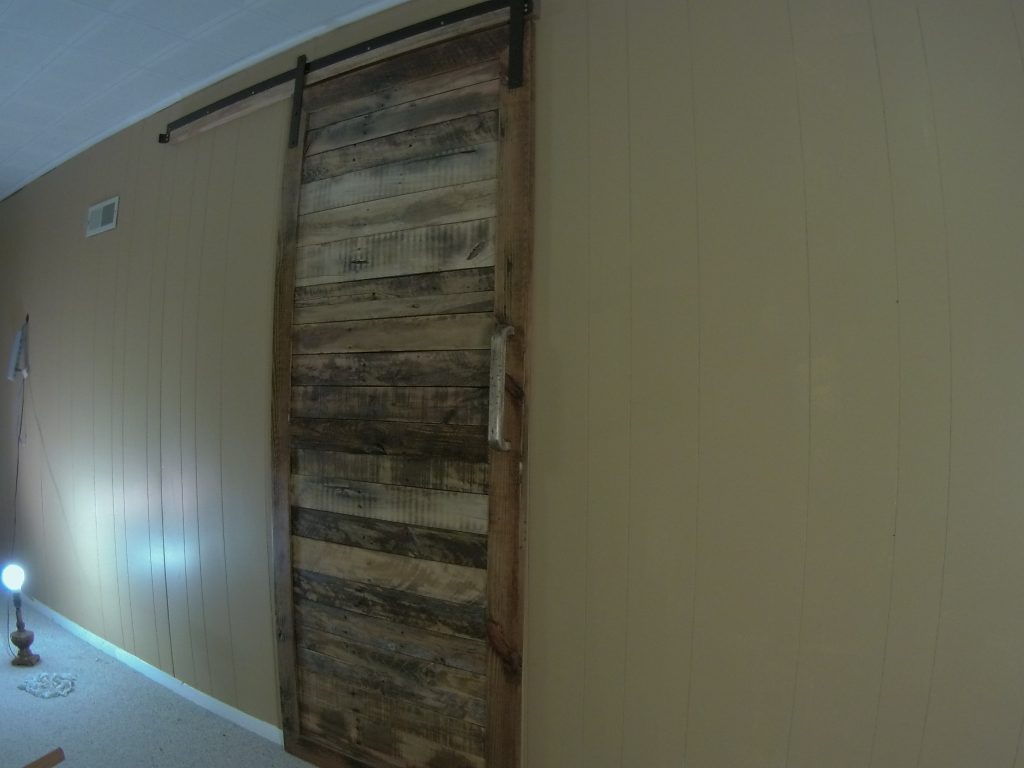
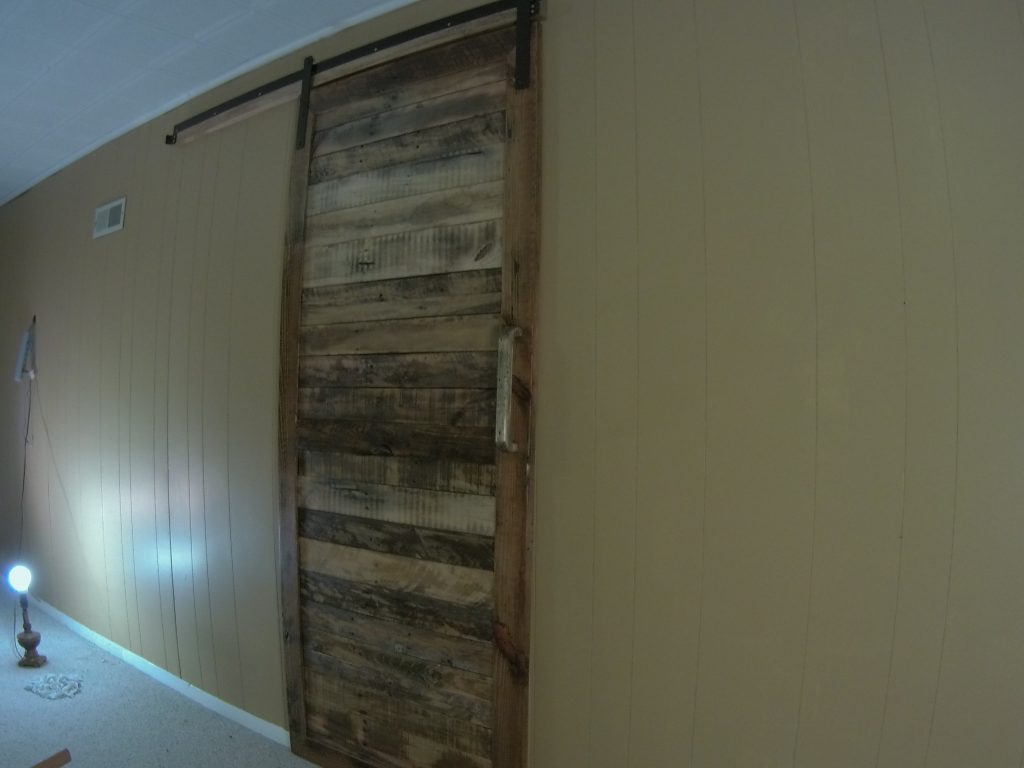
 I first installed the door with out a handle , but decided it looked “Monolithic” and decided a handle might break it up some. So I used a portion of pallet rail where the “fork truck fork” would fit under the rail and trimmed it down to fashion a handle. I used the same aging and finishing techniques on the handle and installed it on the door. I think it breaks up the door some and it adds to functionality.
I have included a Gallery of various pictures taken during the process or clipped from the video.


-
- DCIM100MEDIA
-
- DCIM100MEDIA
-
- DCIM100MEDIA
-

- DCIM100MEDIA
-
- Center Stile
-
- DCIM100MEDIA
-
- DCIM100MEDIA
-

- Handle
-
- DCIM100MEDIA
-
- DCIM100MEDIA
-

- DCIM100MEDIA
-

- DCIM100MEDIA
-
- DCIM100MEDIA
-
- DCIM100MEDIA
-
- DCIM100MEDIA
