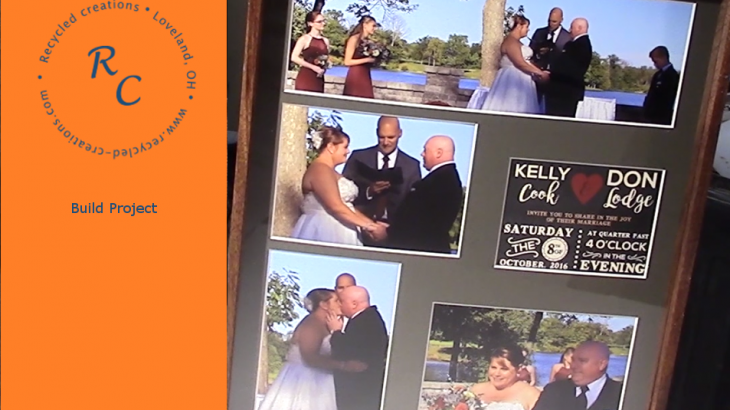
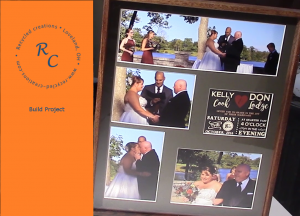
Some friends of mine recently got married, and I was honored to attend I was able to take several pictures during the ceremony, and decided to make a frame for the pictures and incorporate their invitation. This was a really fun project and if you would like to see how I built it, click the picture to see the build video.
I found a pallet with some very unique wood, that I believe to be “Cumaru” a South American hardwood, that is becoming popular for decking and flooring. It is very dense, dulls saw blades and planer knives quickly but finishes to a very pretty surface , it is very dark and similar to walnut in color.

I processed the wood much like any other project jointing, planing and sawing to a usable stock to create the molding for the frame.
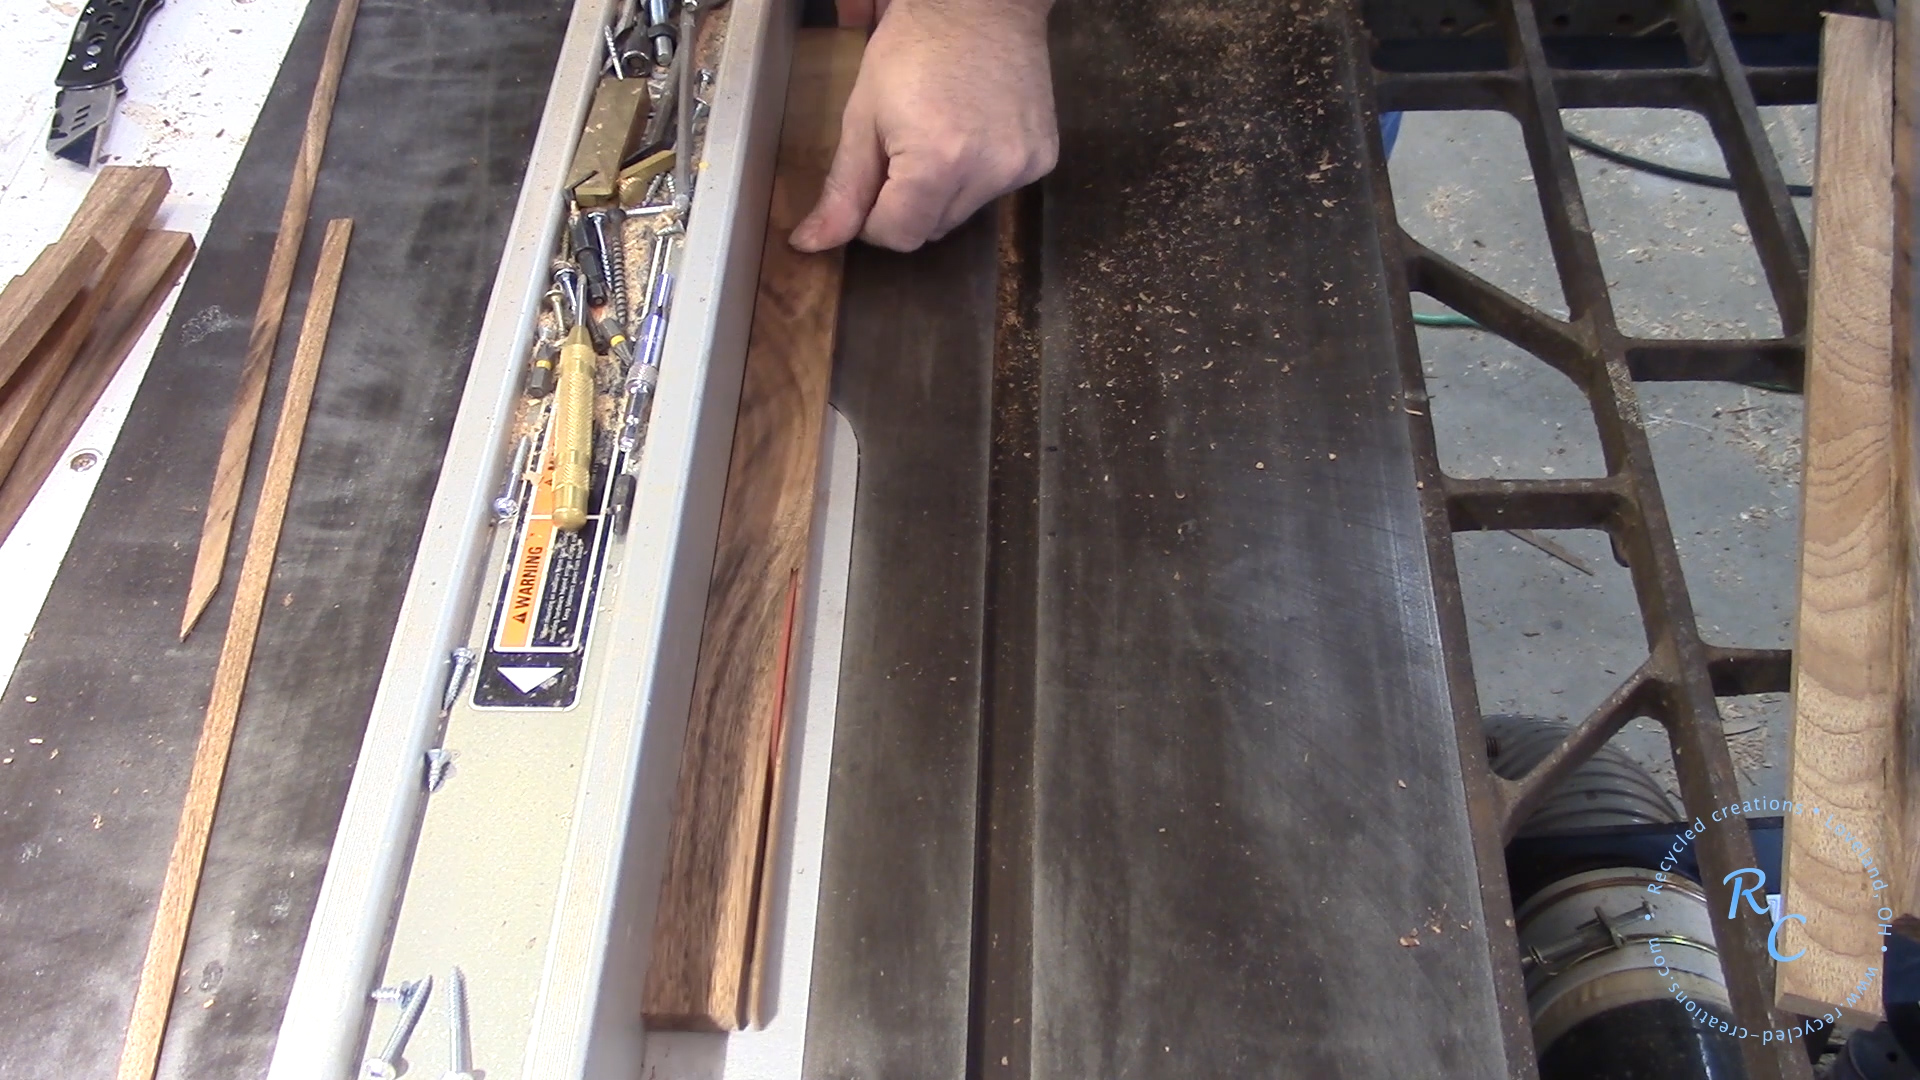
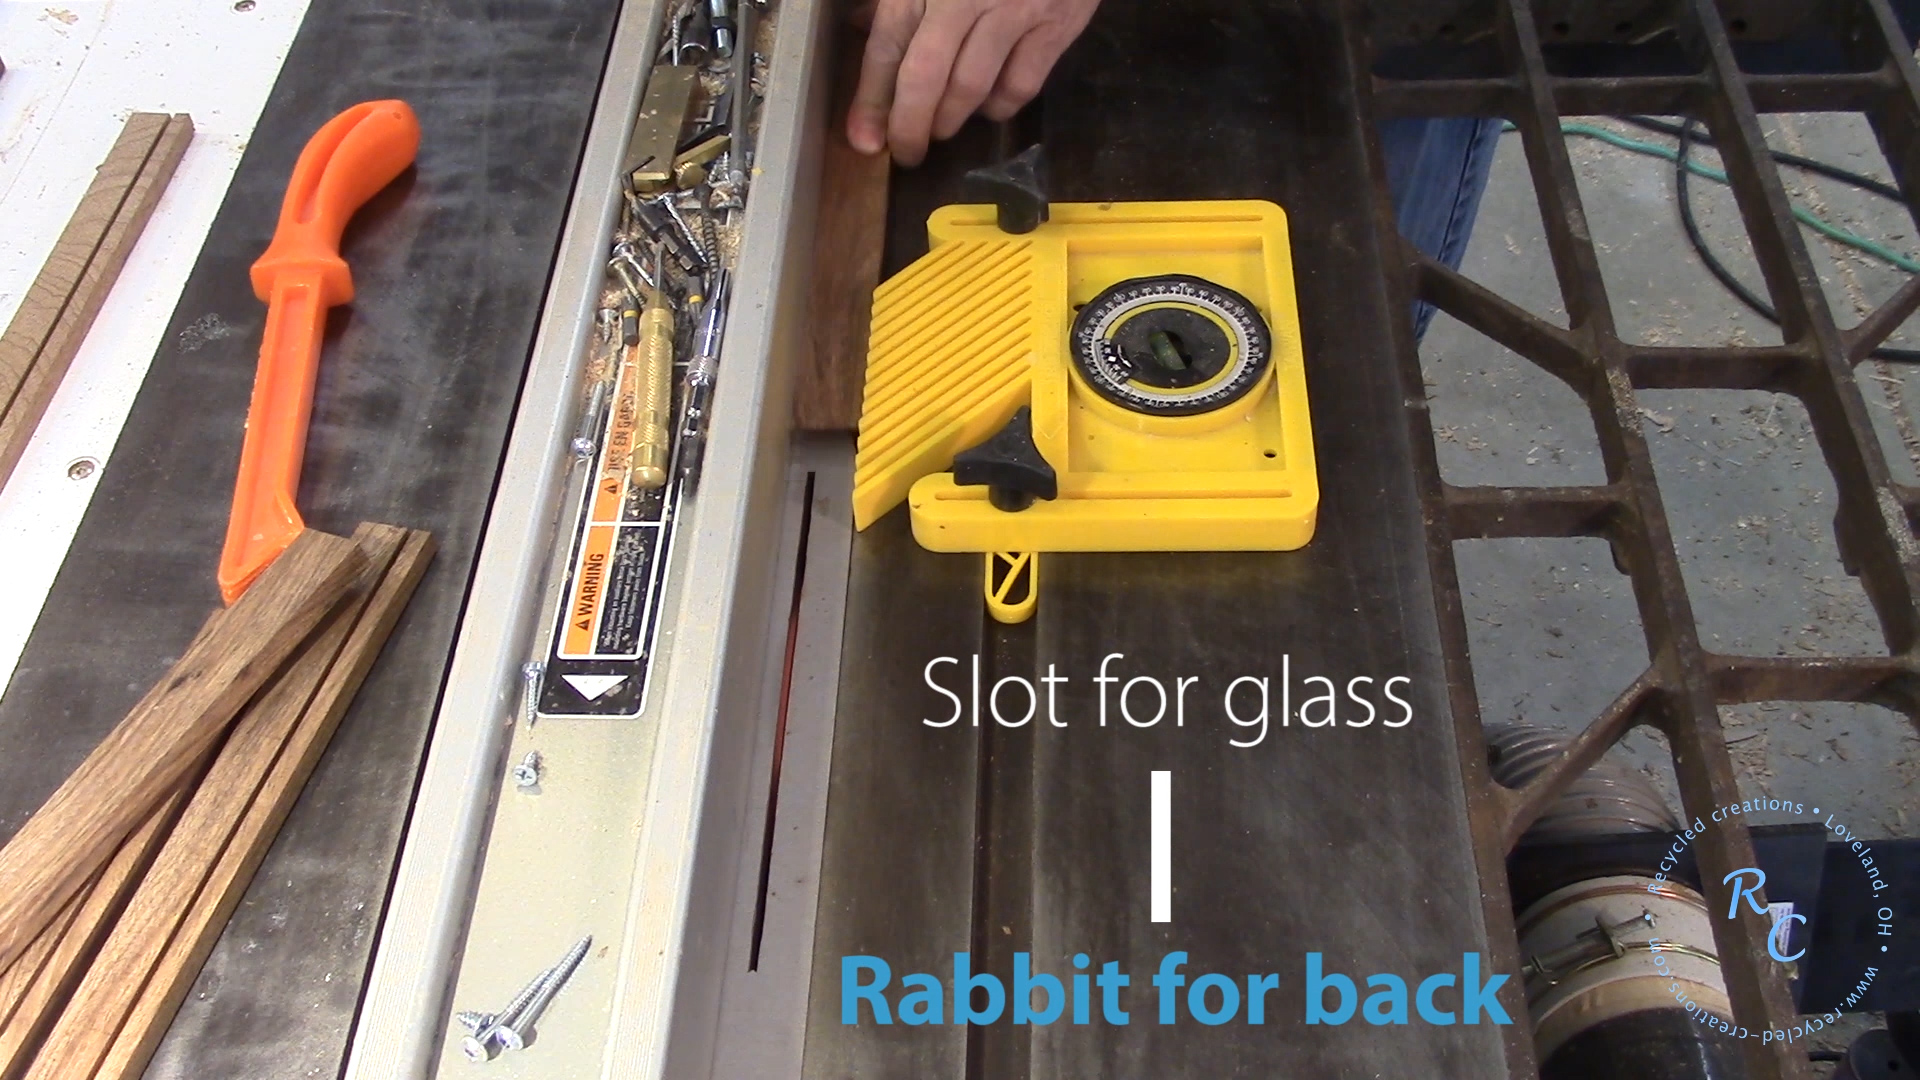
I installed the feather board on my saw and cut a rabbit for the back and a slot for the glass in all the stock.
I used the miter gauge to carefully cut each 45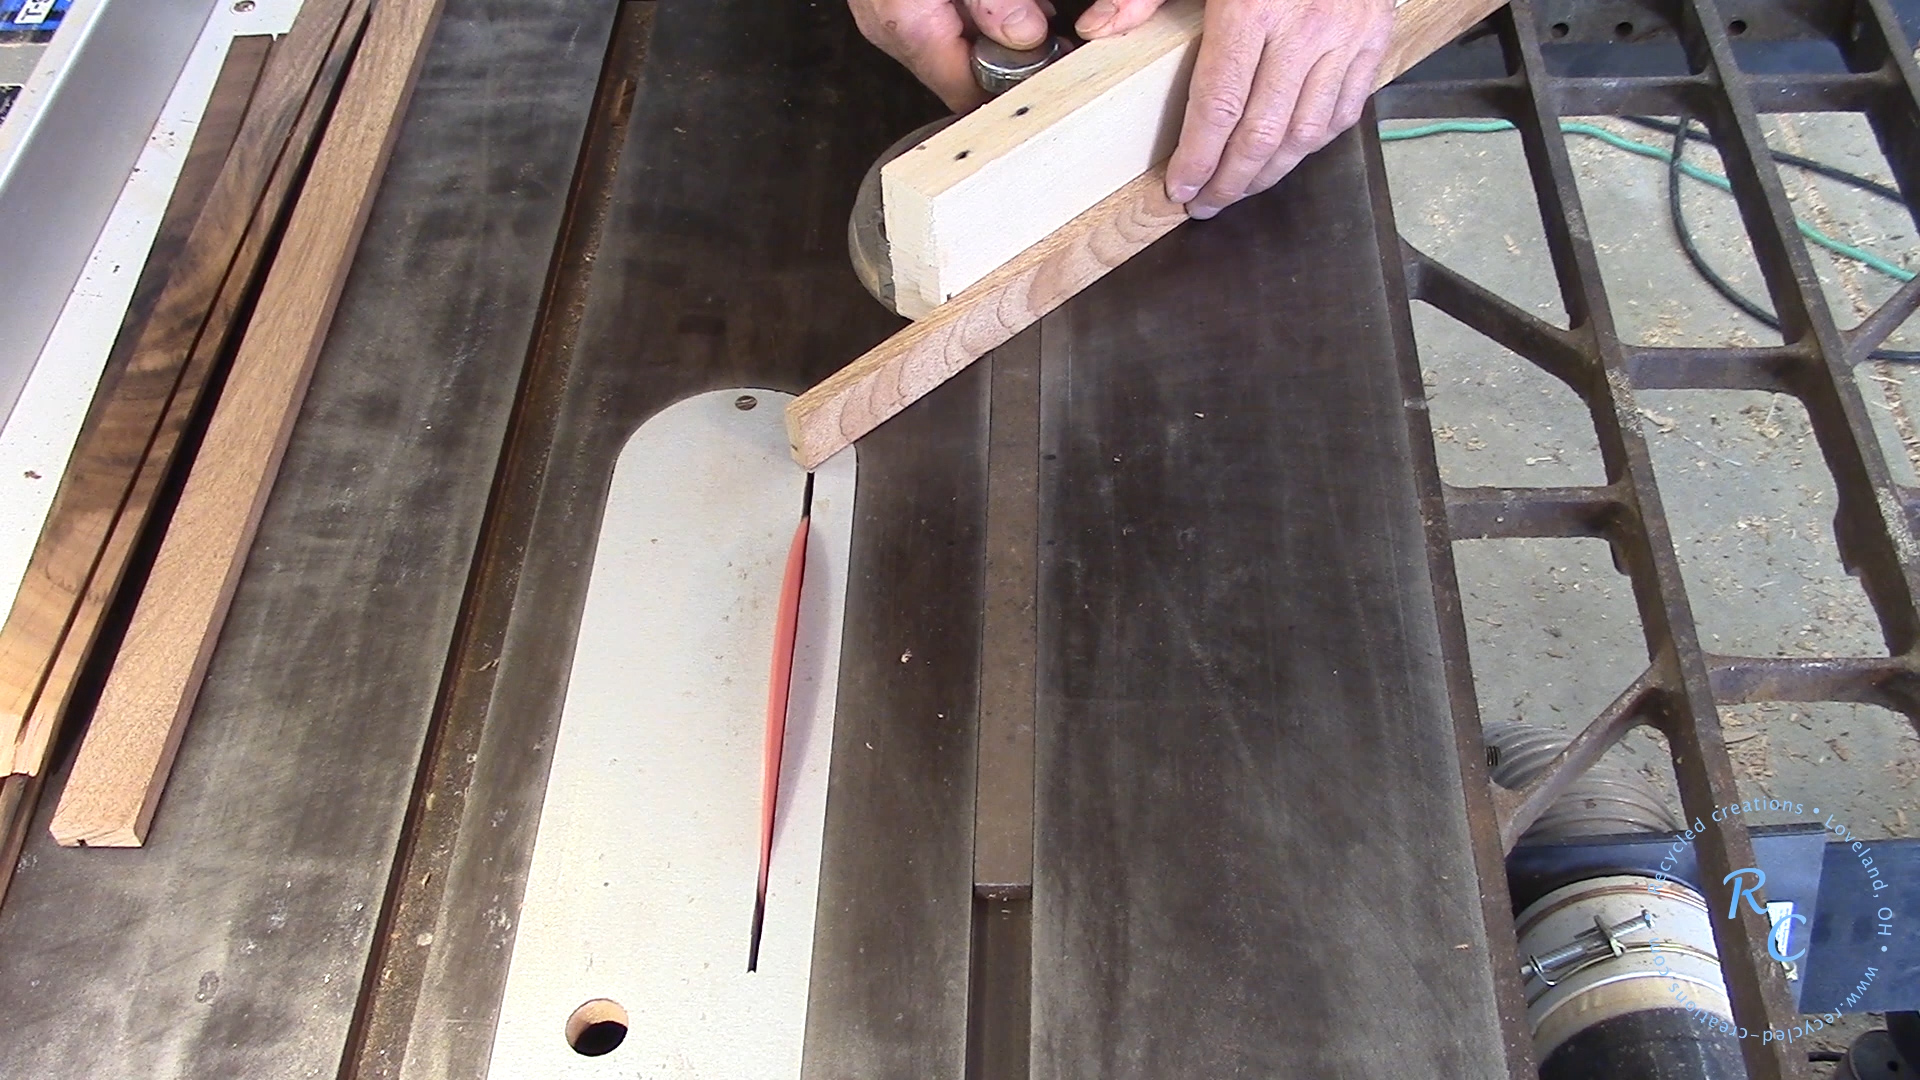 Degree corner to length.
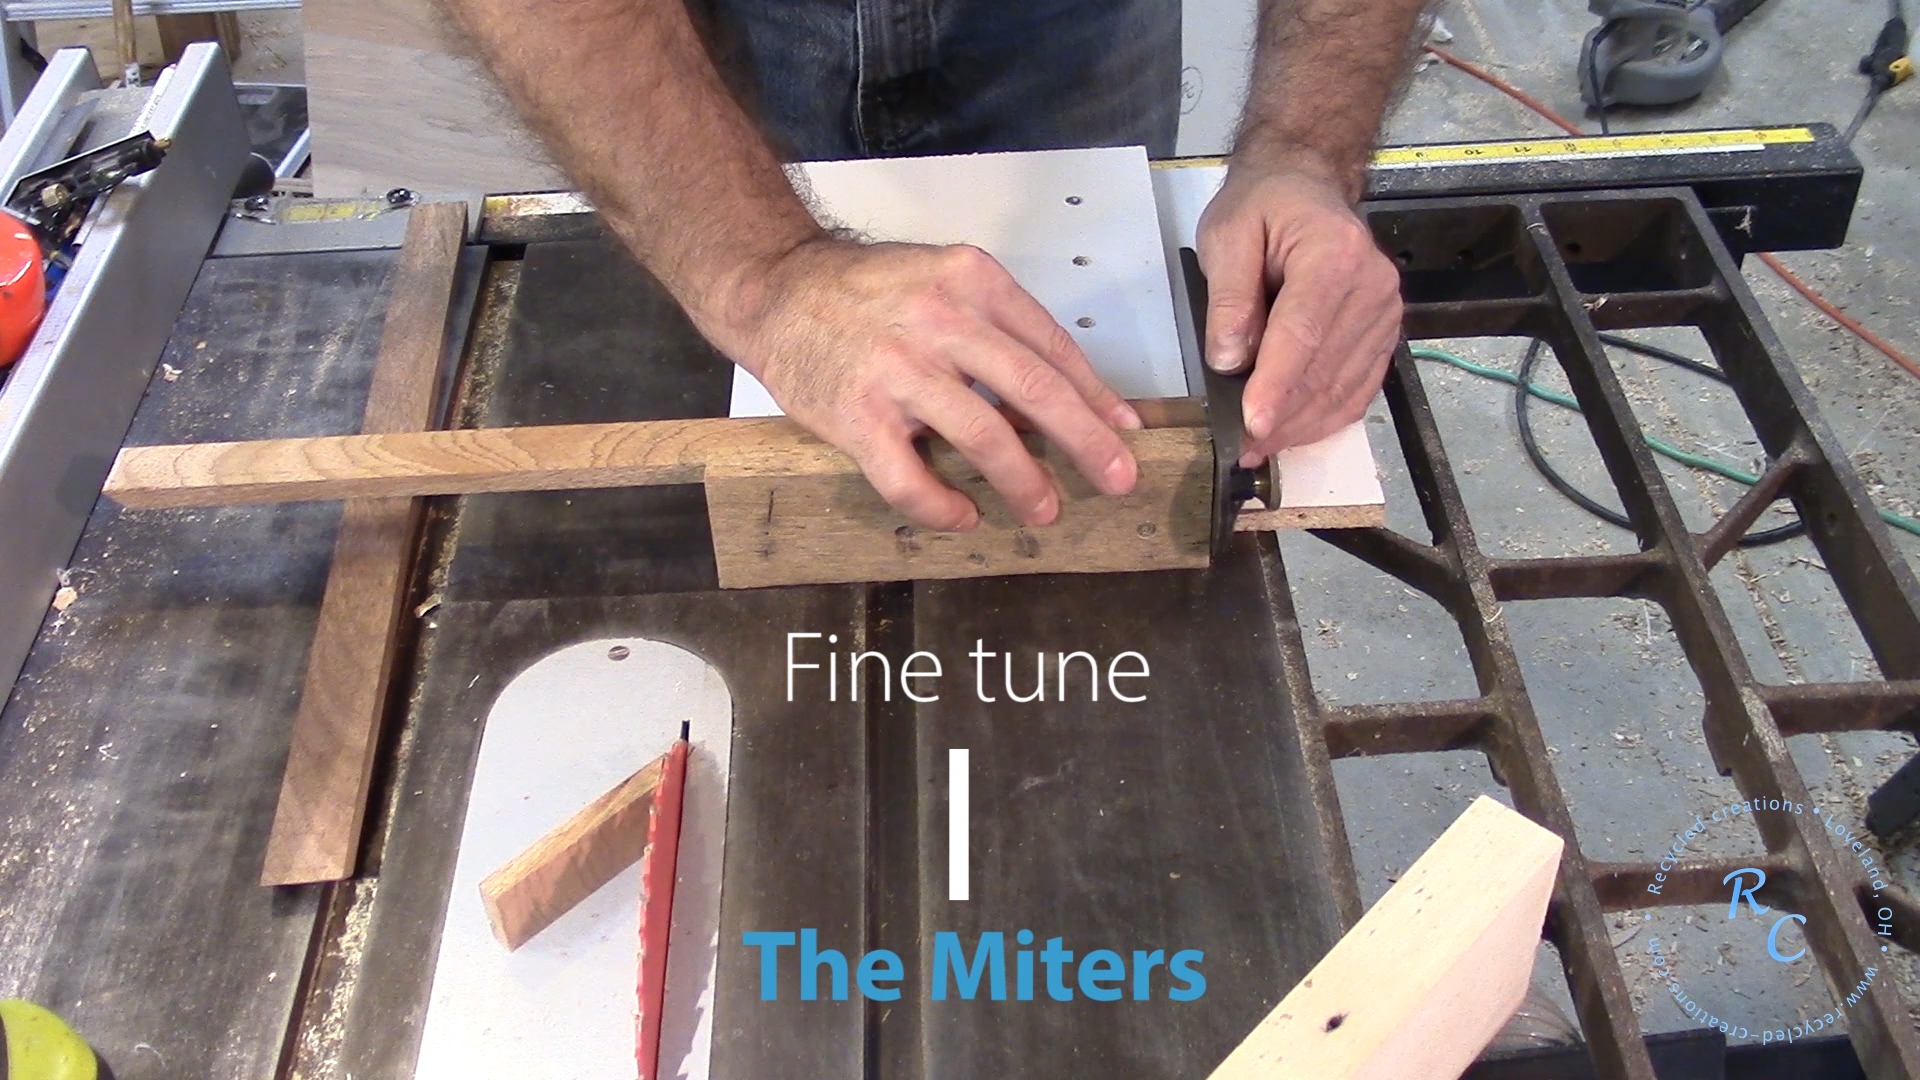
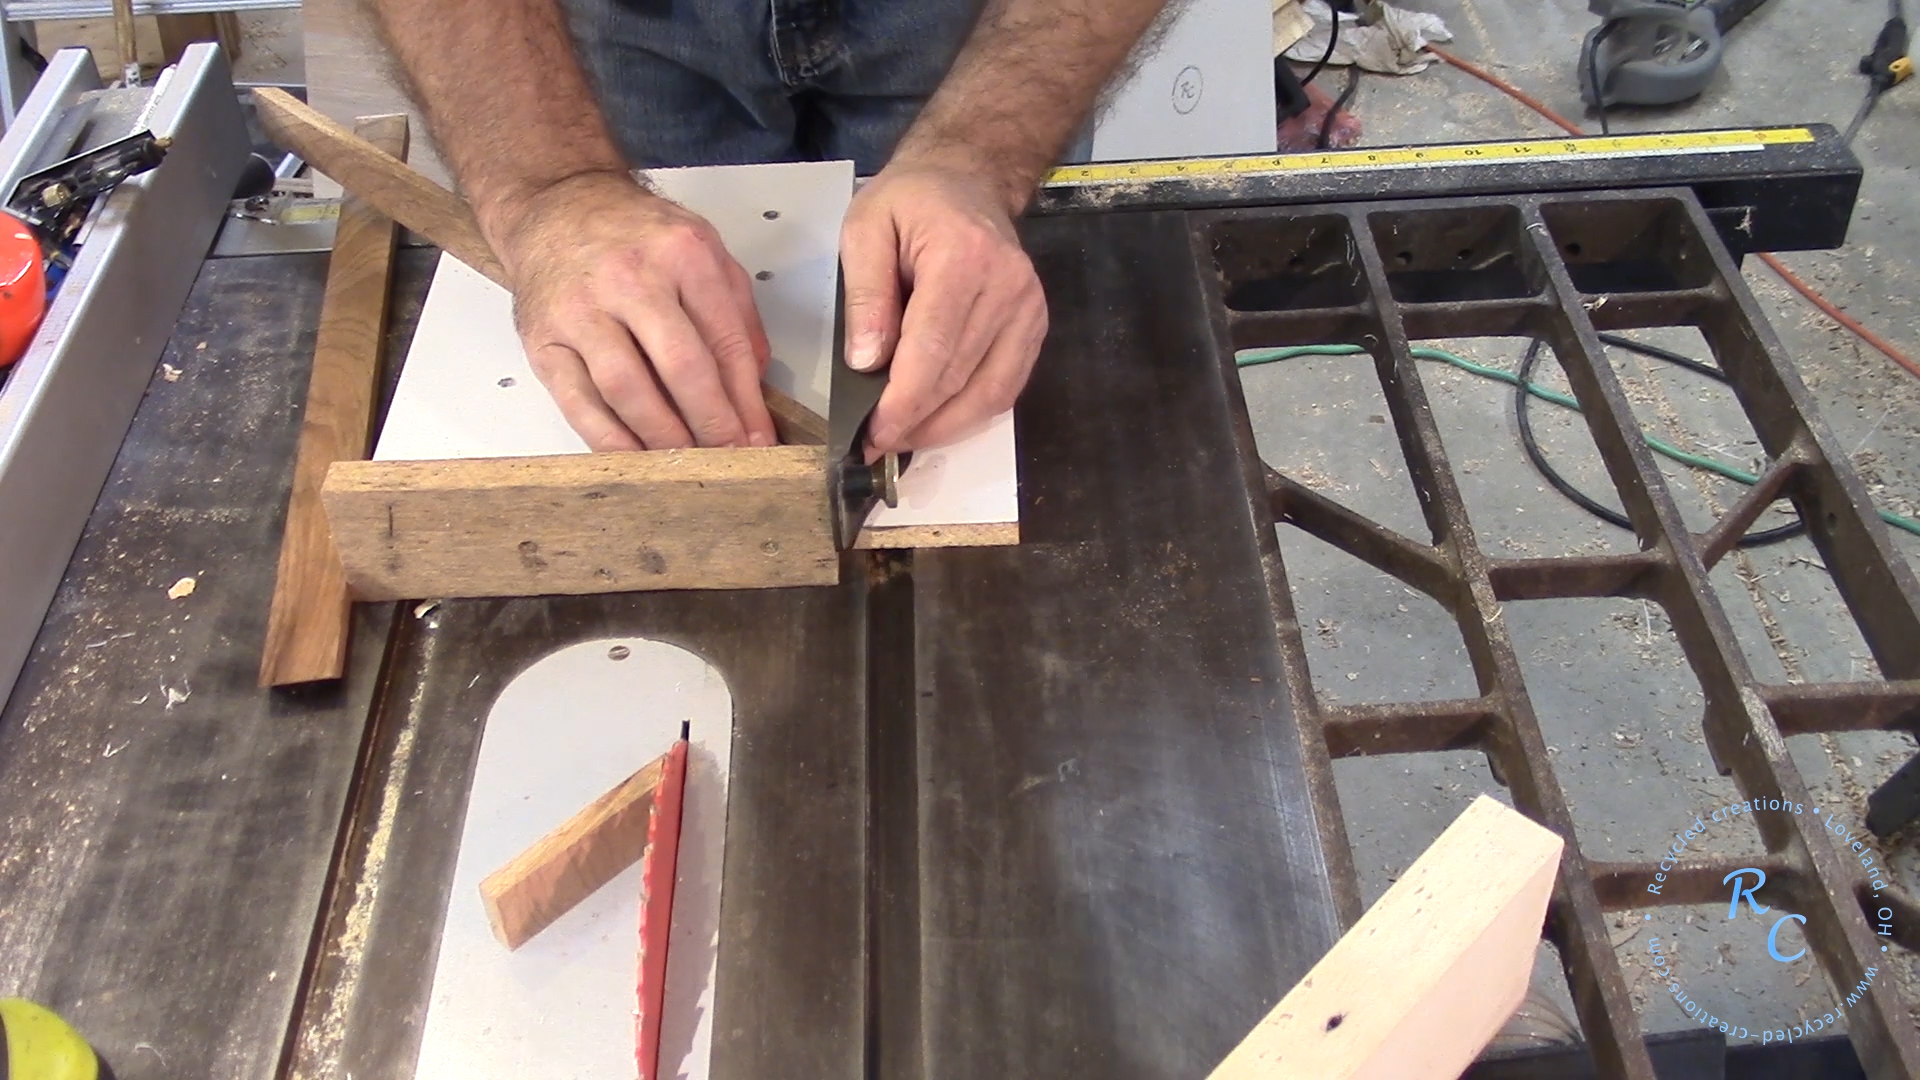
Using my Shooting board and a block plane I fine tuned the miters for square on the ends and the 45 degree face.
I used clear acrylic as the glazing for this project, it is an easy material to work with, can be cut on the table saw with a sharp blade. While your working with it, leave the protective coating intact.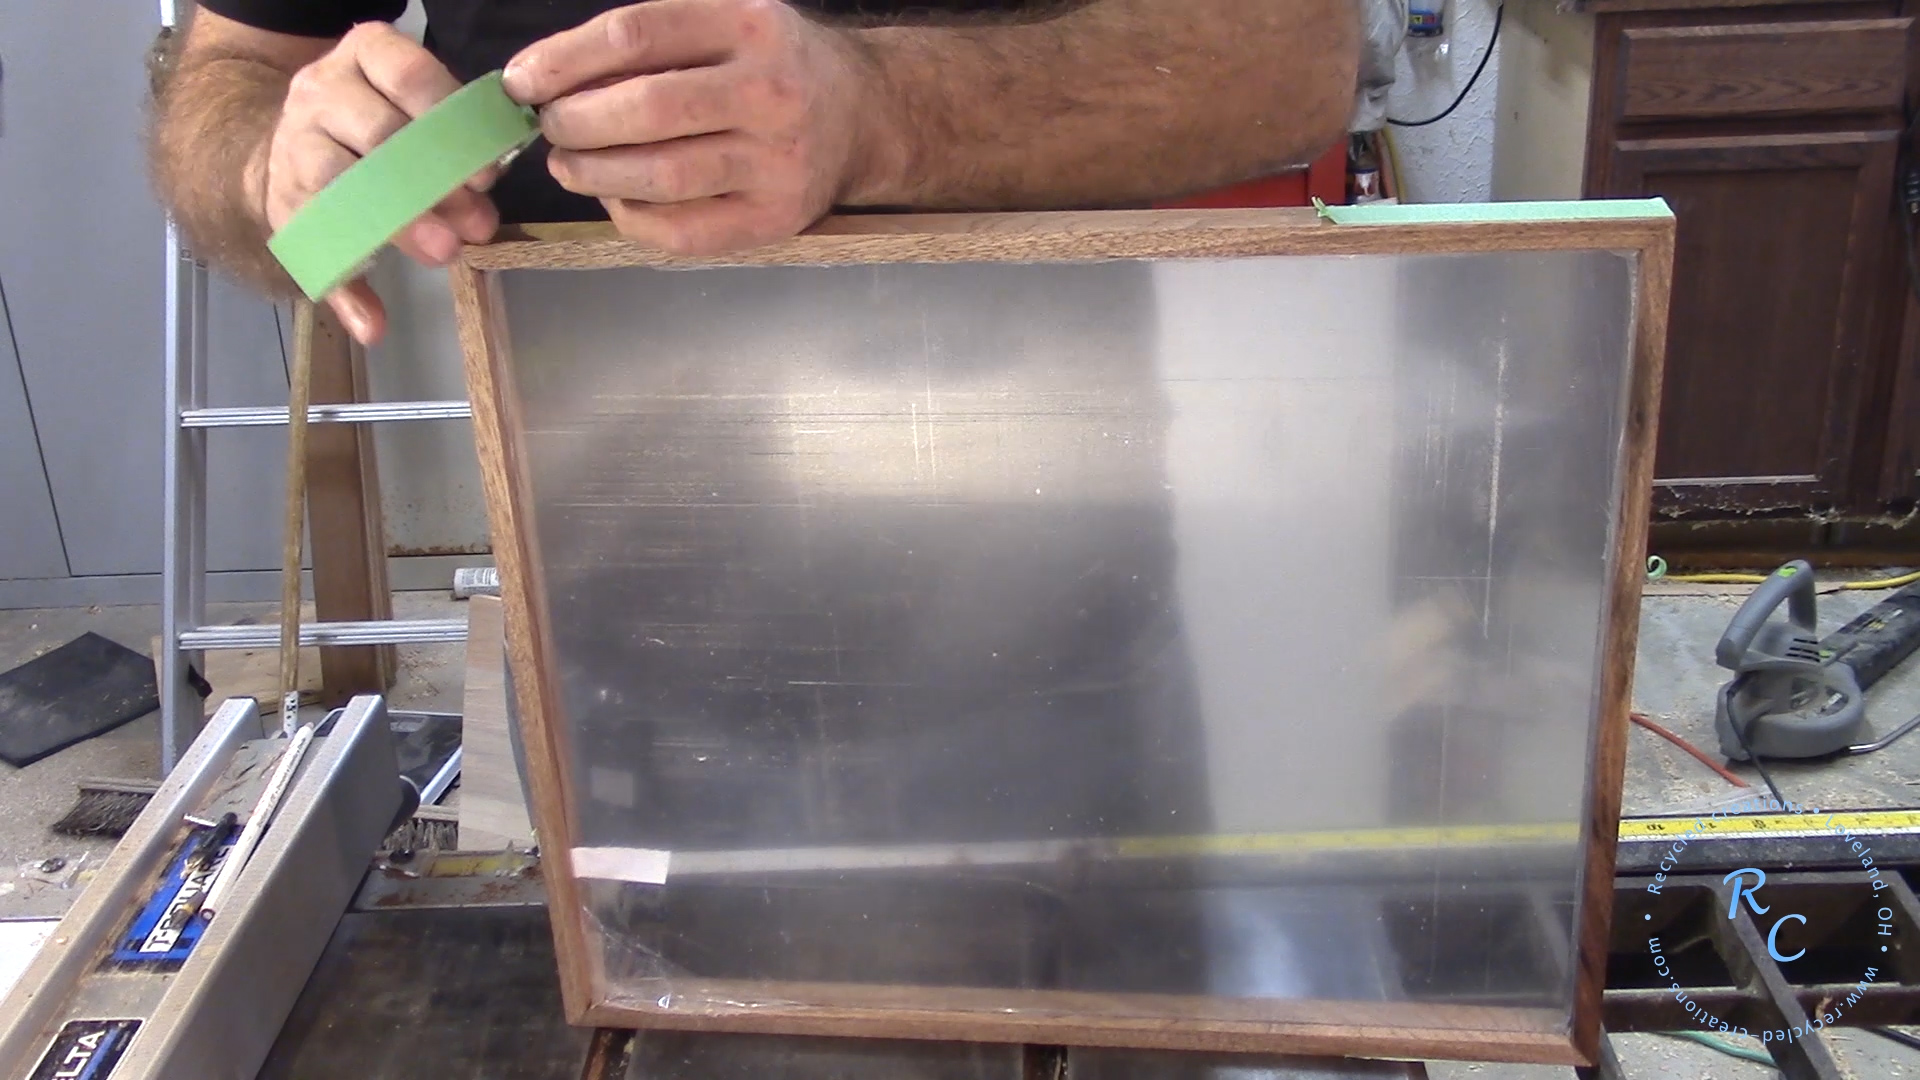
For a finish I used several coats of natural Danish Oil. Then finished with a top coat of furniture paste wax.
After the finish dried I installed the matted pictures ( they just lay in the rabbit I made for the back. Custom framing shops can make a mat to fit your prints, just take the frame and the prints in to the store with you show them the arrangement that you would like and they can help you with spacing etc, and cut the mat to fit your needs.
Finally I cut a piece of 1/8th hard board to use as a backer board and installed it in the rabbit behind the mat and pictures. I drilled some small pilot holes trough the back in to the frame molding because Cumar is so hard I could not drive the brad nails.

